
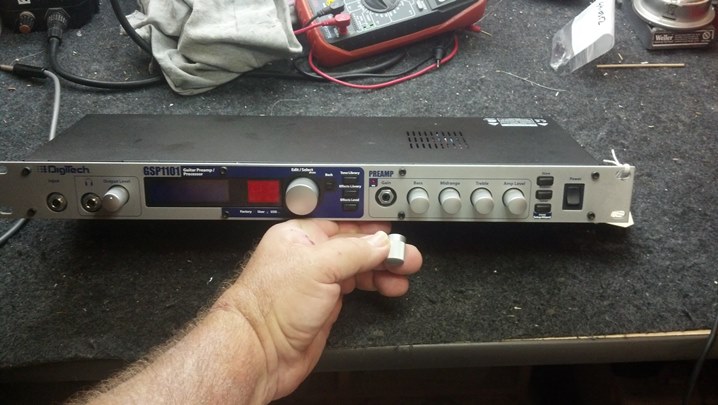
A frantic spouse called to explain that she was vacuuming and hit this ‘thing’ and broke this little piece off it. Could I fix it before her husband found out? The Unbrokenstring Crew to the rescue again!
 The gain knob on this unit is a rotary encoder. This component is available from several vendors.
 She kept the knob, which is GREAT news, because although the rotary encoder is available, the knob is not.
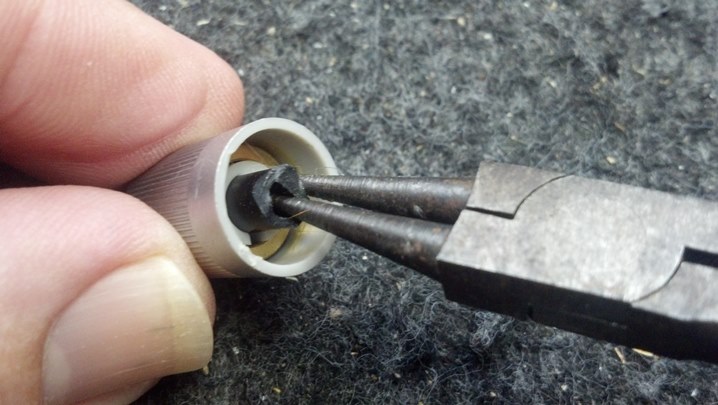 The remains of the shaft of the rotary encoder was removed from the knob. So far, so good.
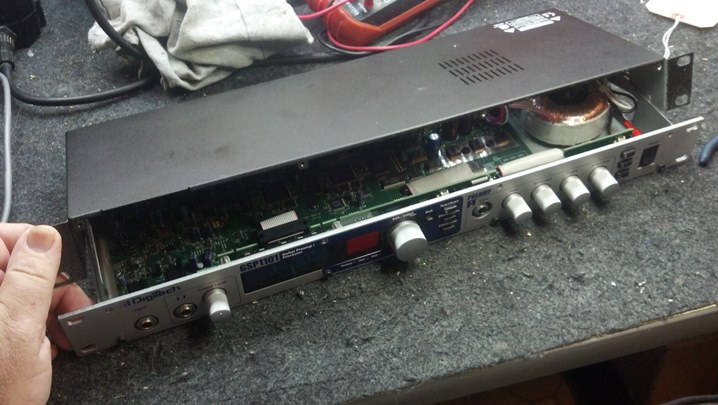 Let’s get to work replacing the broken rotary encoder.
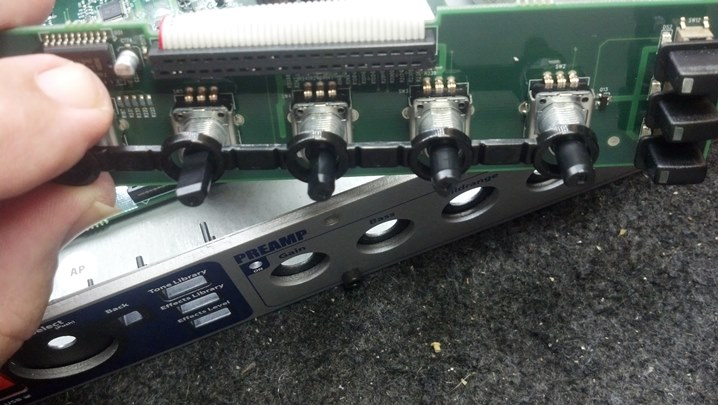
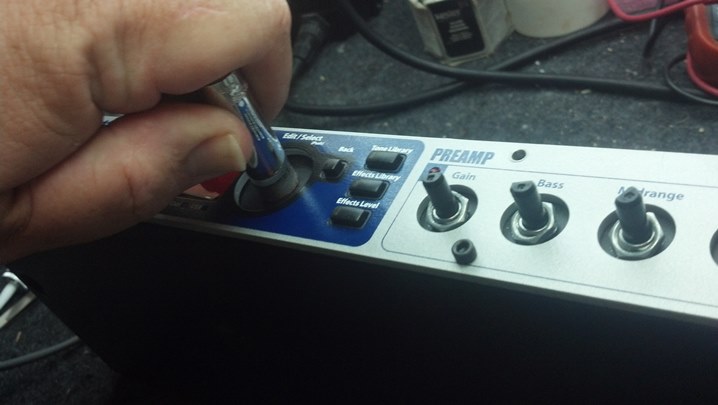
 As is the usual case, all the knobs come off first.
 The circuit board lifts away easily.
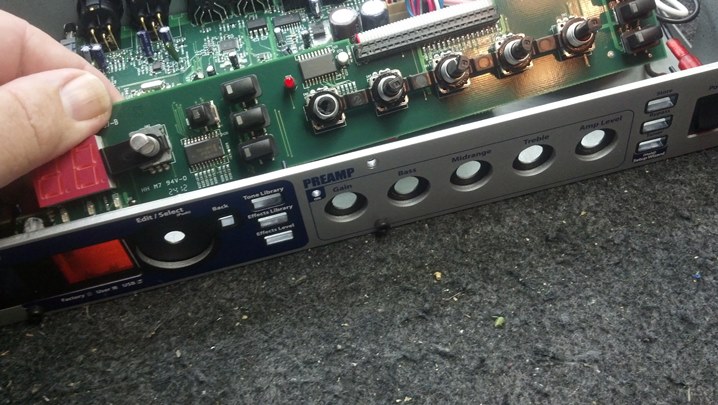
 These cool little plastic spacers set the geometry of the rest of the buttons and controls.
 We will put this piece away somewhere safe while work elsewhere continues.
 To minimize the stress on the circuit board while removing the old component, the body of the broken rotary encoder is cut away from the component leads at an angle perpendicular to the circuit board.
 With the component cut away from the circuit board, de-soldering the legs becomes trivial.
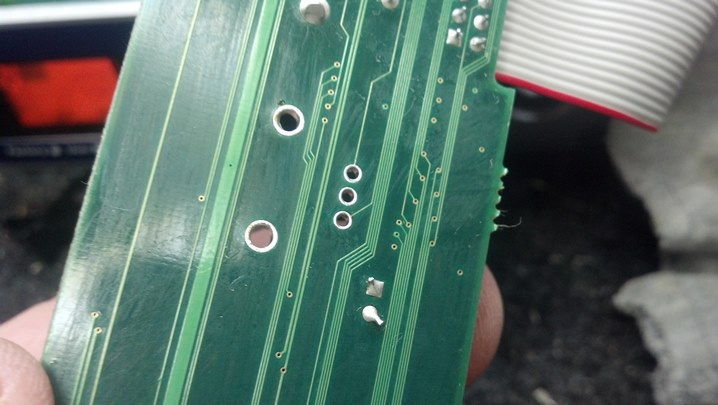 The component legs are gone. This is a high-quality circuit board, double-sided copper and plated-thru holes.
 Both sides of the circuit board are cleaned up.
 Here is the new part, ready to be soldered onto the circuit board.
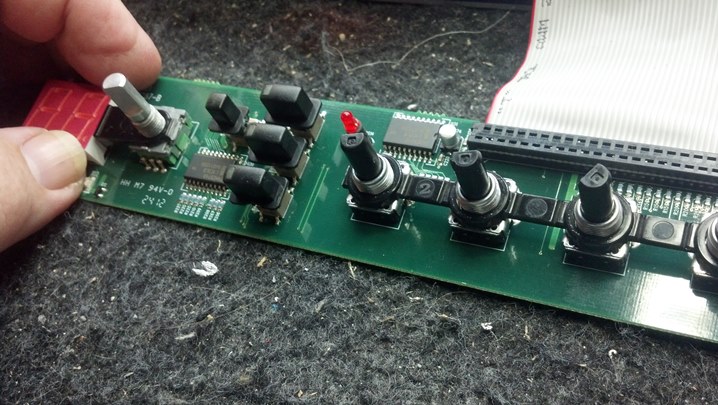 We are ready for reassembly. That plastic spacer is re-installed as it was before.
 The cable carries all the signals back and forth to the front panel. I like this bit of orgami.
 The circuit board is held in place by the bodies of the controls, which are in turn bolted to the front panel.
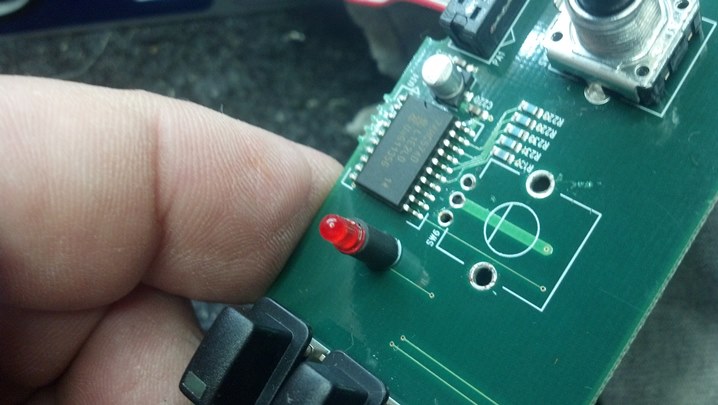
 Everything is back together, ready for testing.
 This looks good! While we were at it, we will do a factory reset.
 Now, everything is as it once was. And the husband was scolded for leaving his toys on the floor, where she could hit them with the vacuum. Maybe I could sell him a rack case?
Thanks for reading all the way through!
CONTACT – David Latchaw EE
281-636-8626