
Two active loudspeakers have the same problem – the high-frequency driver has quit. Does the Unbrokenstring Crew have what it takes to get into these loudspeakers and do the repair?
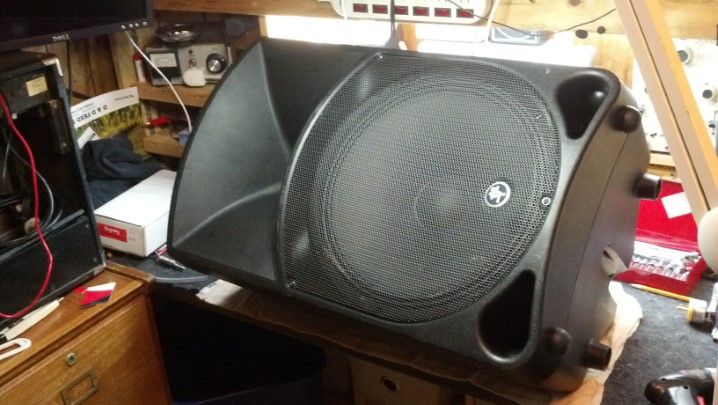 The enclosures of these units are molded from a very durable plastic material.
 So are we dancing?
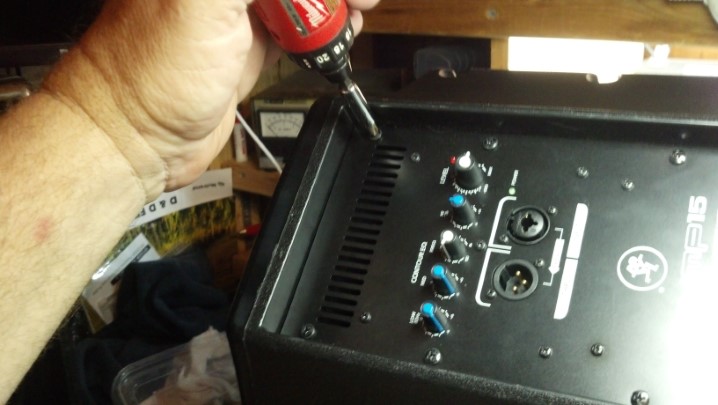
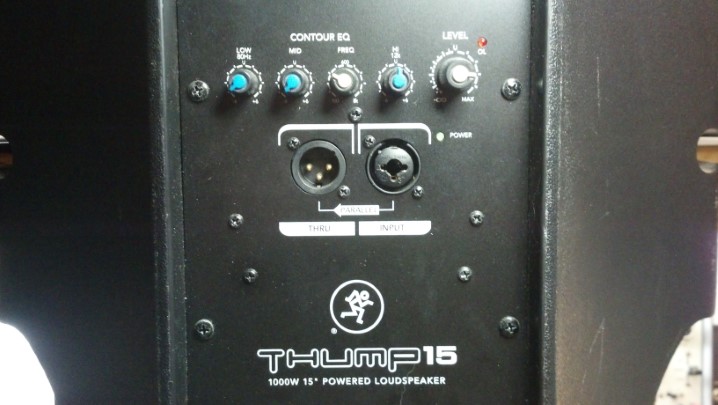 The rear panel has a crossover frequency control, equalization, overall volume, and audio inputs.
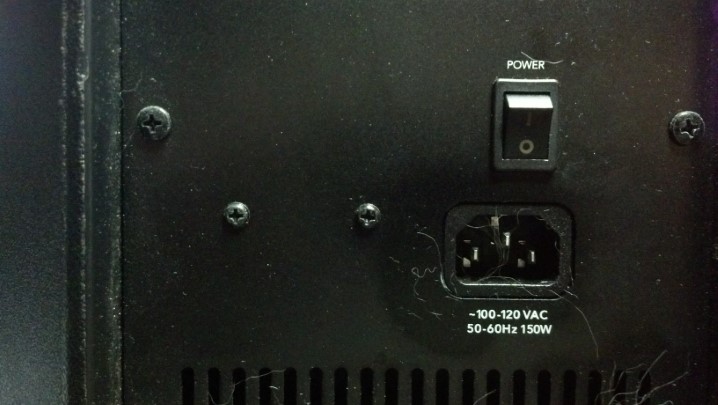 The bottom of the real panel has an input power IEC jack and an on/off switch.
 The ‘Suggested EQ Settings’ suggests to me that this is a little more consumer than pro.
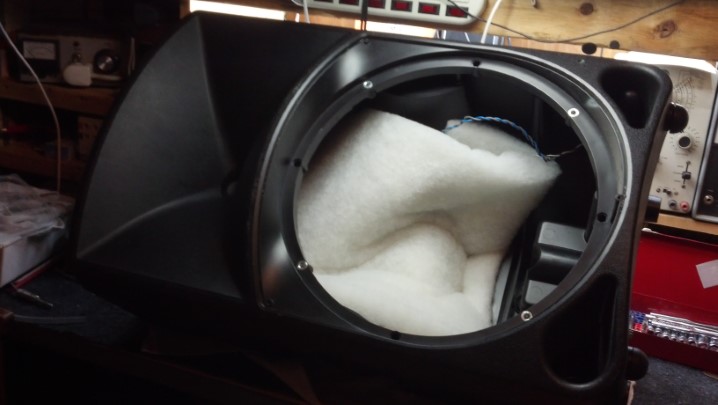
 Perhaps we can gain access to what’s wrong by removing the loudspeaker. These nice Allen-head machine screws hold the loudspeaker frame to the case.
 With the loudspeaker out of the way, we realize that we cannot really get any tools inside to replace the high frequency driver. We will need to split the case apart, which is no big deal but at least thirty screws are used! Let’s get the electric screw driver warmed up and get to work.
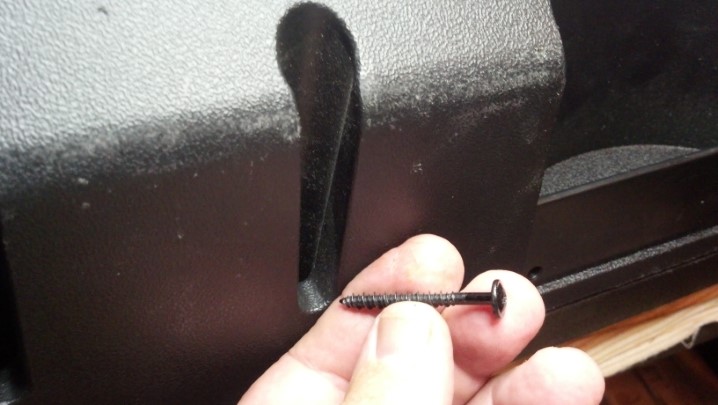
 The first thing to remove is the handles. This flat-head screw comes out with the aid of a magnet.
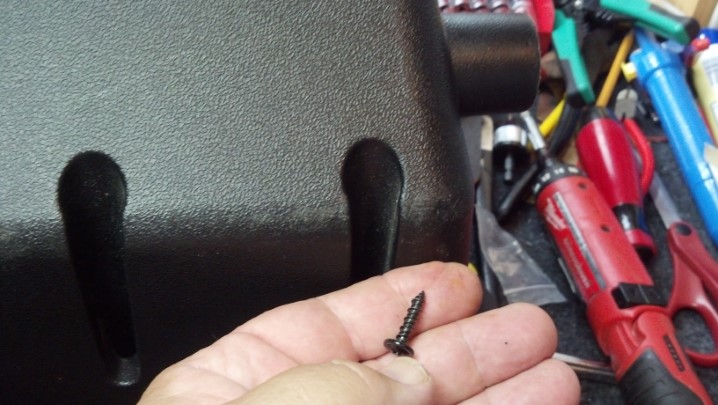
 Inside the handle, a nut falls out when the screw is removed. I’ve retrieved the nut with a magnet.
 The nut is held in place in this molded socket. This may be interesting to reassemble.
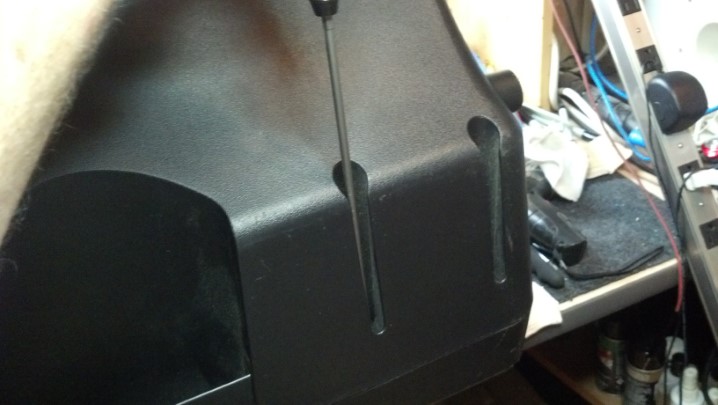
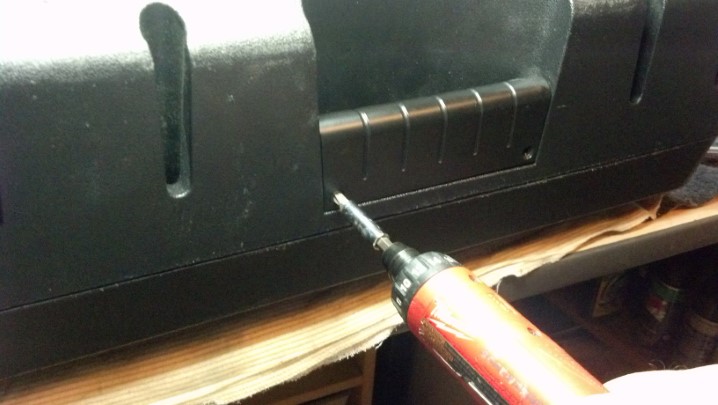
 This one foot long screw driver bit will allow us to reach all of the screws.
 Some of the screws are long.
 Some of the screws are shorter. We make note where they all go.
 Here is the foot-long screw driver bit at work.
 There are screws holding the case halves together underneath the plate of the amplifier. Off it comes!
 More screws come out. Glad I got this long bit!
 The plate that the amplifier is mounted on is gasketed in place with this L-shaped plastic strip on two sides.
 At last, we are in! The two sections of the enclosure come apart.
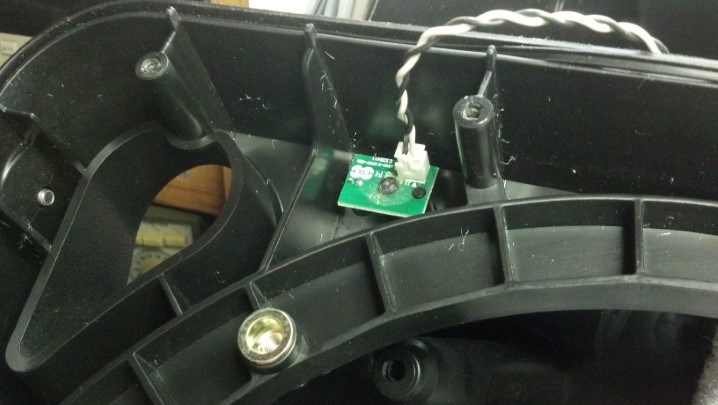
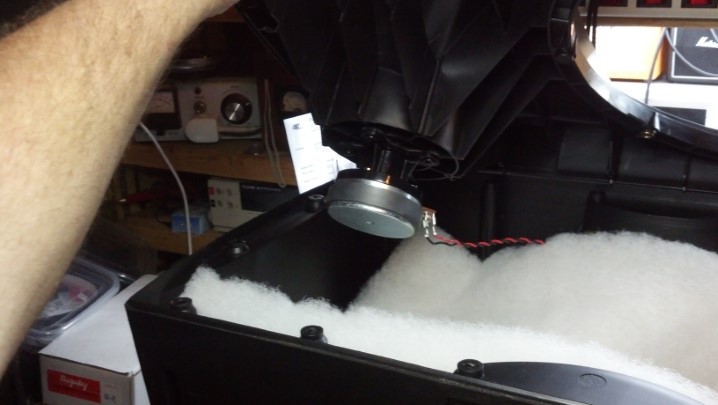 And here is the high frequency driver that needs replacement.
 To completely separate the two halves of the case, this cable to the pilot light can be removed.
 These drivers are held in place with four screws.
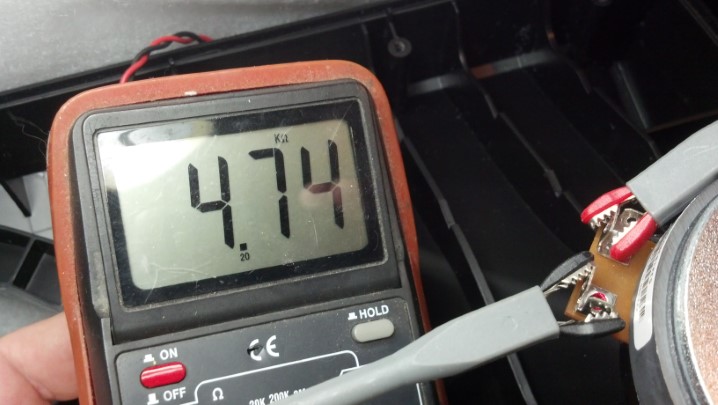 Interestingly, the voice coil inside the driver is intact, yet the unit did not work. This tells us that the voice coil had separated from the diaphragm.
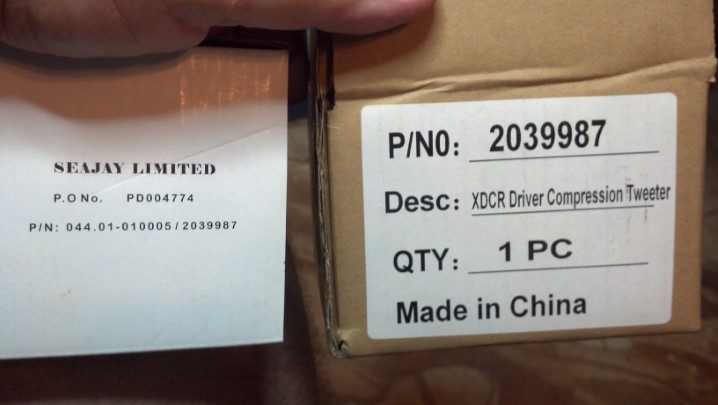 The exact replacement, like the original unit, is made in China.
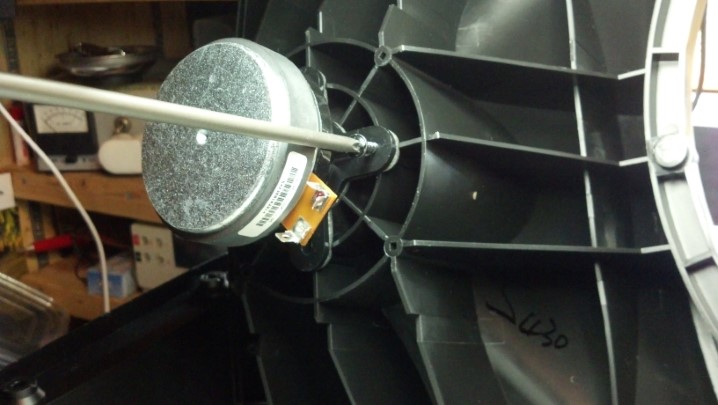 The new driver is installed with four screws.
 All of those screws go back in where they came from.
 And there are a lot of screws!
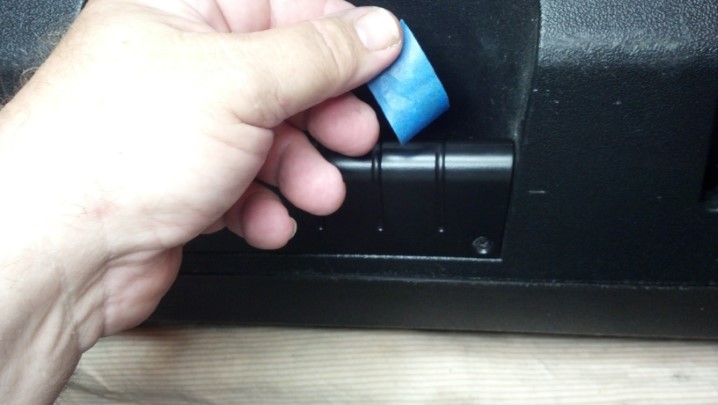
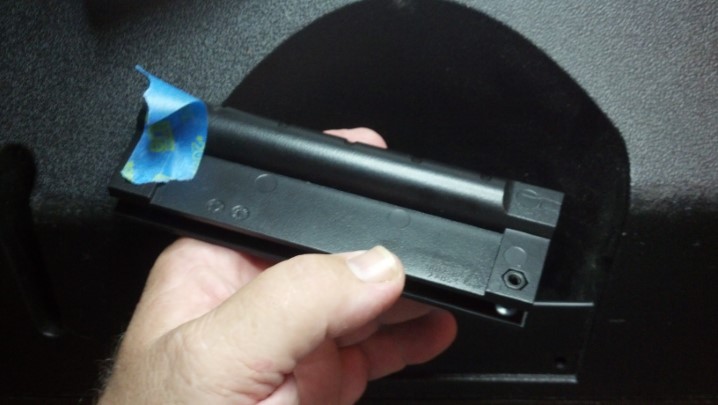 I used blue tape to keep the nuts captive while the handles were reinstalled.
 The handle screws are easily tightened as the nuts are held captive in the plastic socket.
 Now that the handles are tightened down, the blue tape keeping the nuts in place can be removed.
 A little originality is necessary to finish the job.
 At last, these units are ready for testing and return to service!
Thanks for reading all the way to the end!
CONTACT – David Latchaw EE
281-636-8626


