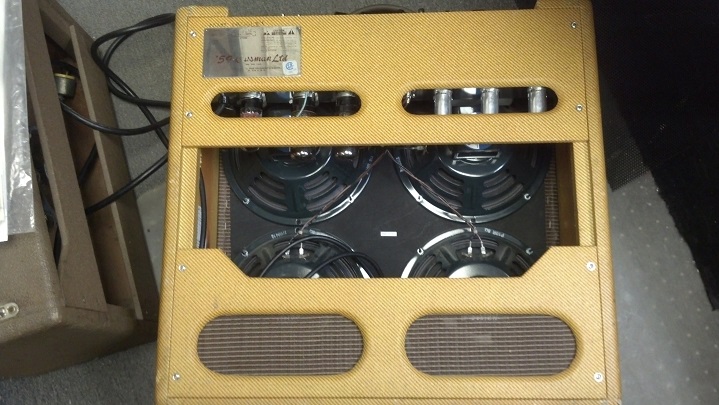
This beautiful reproduction amp worked well for a while, then began to exhibit strange symptoms. After quitting entirely, the owner called the Unbrokenstring Crew. Can we fix it? Yes we can!
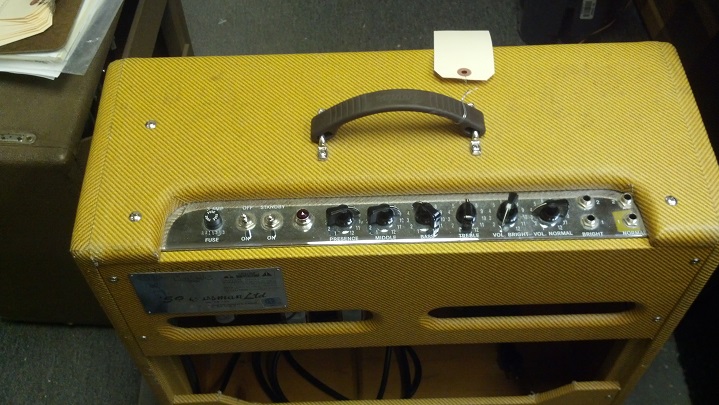
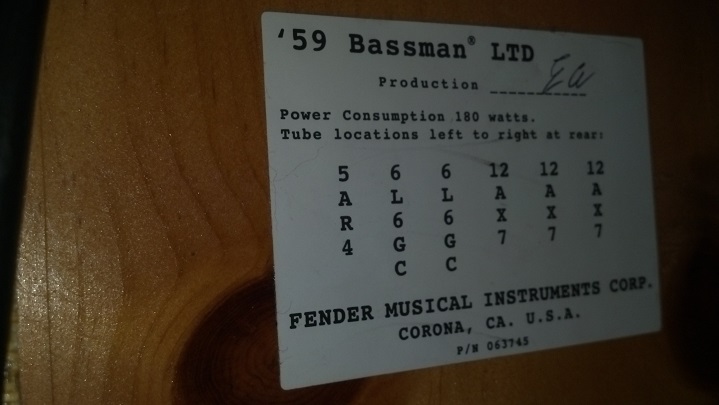
At first glance, this amp looks to be a chip off the old block. Other than the label on the back and the like-new condition, this amp is almost indistinguishable from the original model.
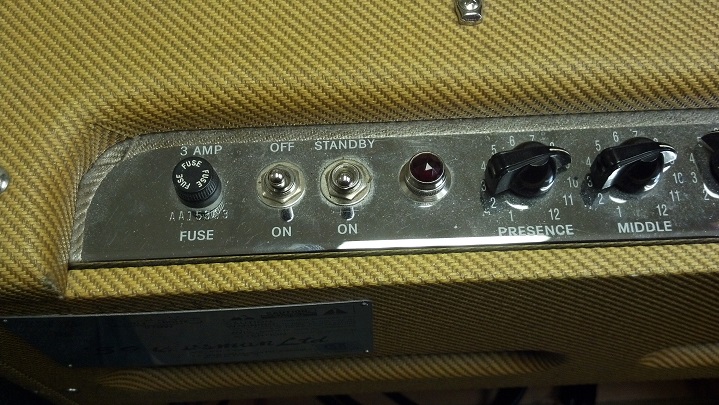
The lovely control panel lends a little mirror-like bling to the case.
WARNING: Tech porn. My, aren’t we starting early in the post with the porn?
The chrome faceplate shows every fingerprint. This will need to be polished before the owner gets his amp back.
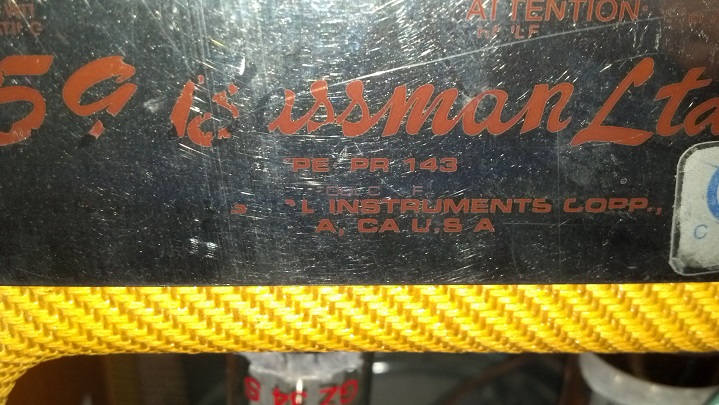
The silkscreen is a little worn off the nameplate but the chassis model is intact.
You can clearly tell that the cabinet is pine and not plywood nor MDF board.
WARNING – More Tech Porn – If you turn up the sound, you can hear some heavy breathing! Let’s fix this!
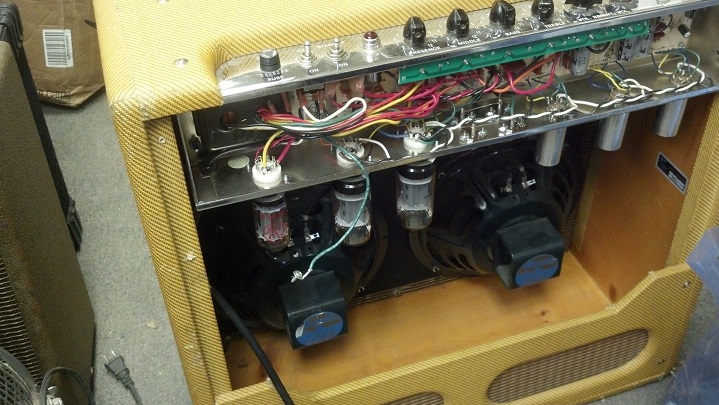
The rear panel is lined with aluminum tape. The green wire grounds the foil to the rest of the chassis.
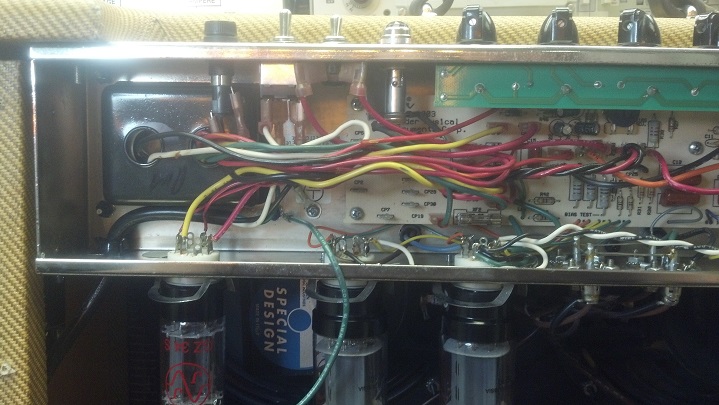
Here we see the hand-wired tube sockets. Although I would like to have seen the control panel hand wired as well, this is overall the best way to build a tube amp, IMHO. The dangling green wire is the ground wire to the foil seen in the previous picture.
The chassis wiring is a combination of wire-to-board and wire to flag terminals. Two printed circuit boards are employed; one for the components in the amplifier itself and another one for the front panel control wiring. Also note that the loudspeakers say “SPECIAL DESIGN.” I’ll explain what that means later.
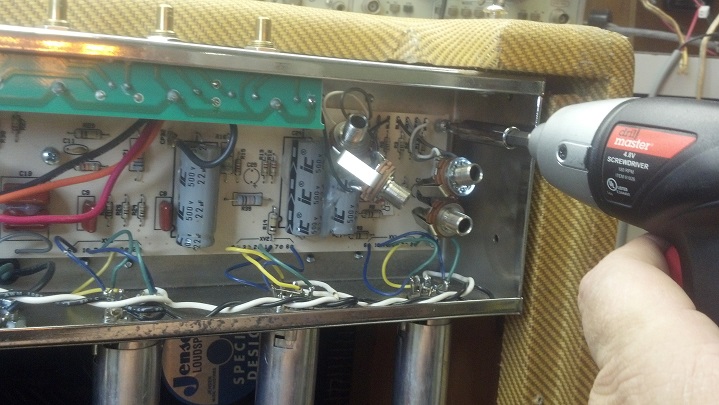
Here we see the input jacks and preamp tubes. Sorry about the glare in the pics.
Let’s get that circuit board out, because I found a bad connection that requires solder rework. The input jacks are already loose in this picture.
The nuts on the controls are called ‘small outline’ which is a nice touch that Fender added. The small outline nuts will not show when the chicken-head knobs are installed. Off they come!
Some sound came out of the loudspeaker when tapping around this area. What do you think we will find?
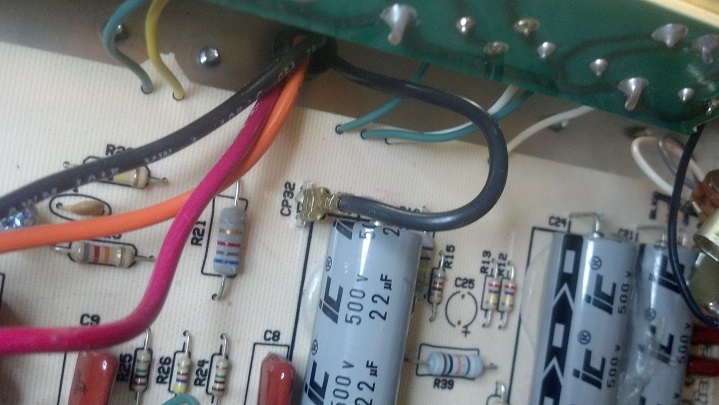
The stripped part of this wire may have been soldered at one time, but the solder joint failed. This wire pulled right out with nary a tug.
This grey wire also came out. We need to remove this circuit board in order to do some serious work on the solder side.
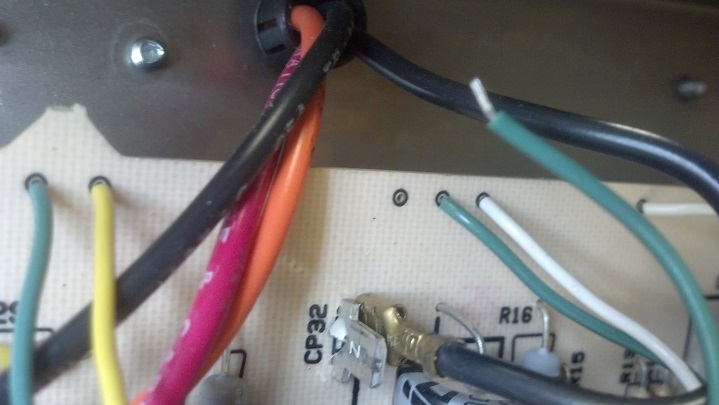
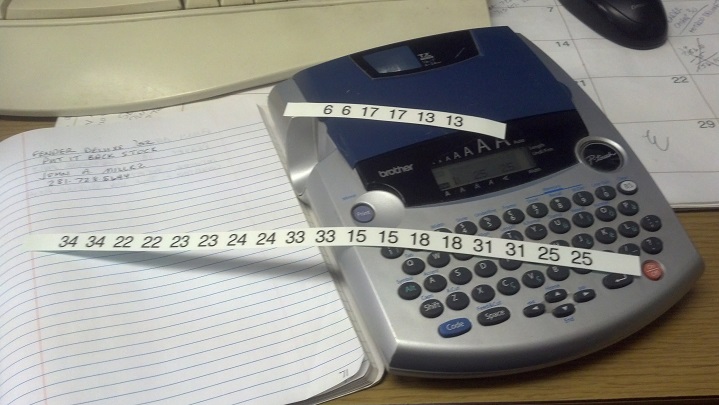
There are about twenty five flag terminals with wires on them that need to be removed in order to pull the circuit board out of the chassis. Each wire is marked with nomenclature that matches the identification information on the circuit board silkscreen. Here, I’m making numbers with my Brother label machine.
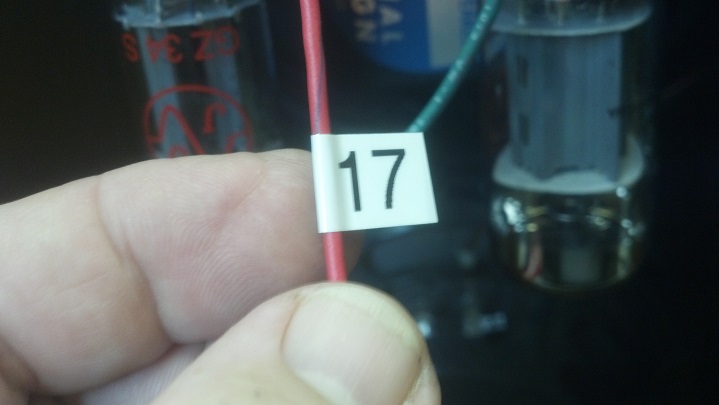
Each number was repeated so that the label could be read from either direction. Here, the label is formed into a flag and looped around the wire.
As I moved the wiring around to free the circuit boards, more wires came loose. I speculate that the lead-free soldering was performed at the wrong temperature or with a flux that did not allow the strands of the wires to be adequately tinned while the joint was formed. Over time, these failed.
Each failed solder joint was re-flowed with real tin/lead solder using activated rosin flux. This rosin flux is not conductive, but the dust it attracts is conductive. Rather than take a chance with future problems (and to keep my workmanship looking nice) the circuit board is manually de-fluxed.
There. That’s better. This is what the solder-side of this board should have looked like when it left the factory.
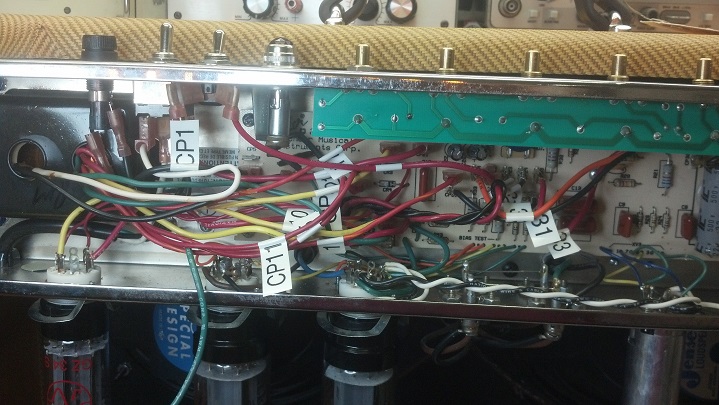
And now it’s time to put this amp back together. This is where all those wire flag markers come in handy.
Yes, REALLY handy. There are a lot of connections to be restored and I would have had some issues had I not marked each one with a flag.
The amp is back up and running. Here’s a pic of the bias check. Can you see how many milliamps flows through the tube pair at idle?
Here’s a pic of our favorite green wire, seen in an earlier photograph!
One of the screws would not tighten, so here you can see that I’m blowing out the debris from the hole prior to plugging it and drilling the plug to hold the cabinet screw securely.
All done. Do you remember that I mentioned something about those ‘Special Design’ loudspeakers? Well, if you ever want to replace these loudspeakers with other units, Be Aware that the magnets on those new speakers will hit the amplifier chassis. Be very careful to replace these loudspeakers with ones that will mechanically fit. Just sayin…
Thanks for reading all the way to the bottom!
CONTACT : David Latchaw EE
281-636-8626


