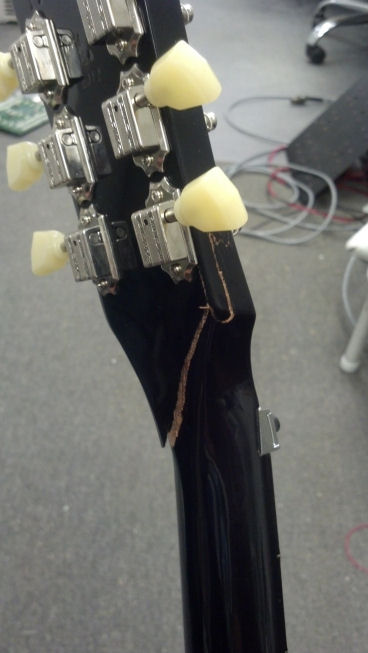
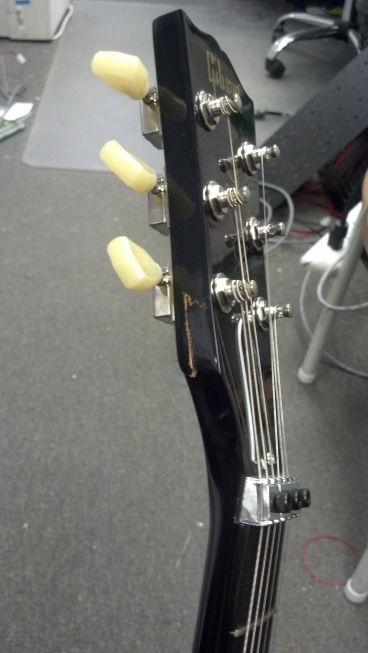
I am a sucker for projects. And I’m a sucker for Gibson guitars. So I saw this black Les Paul at a local guitar store, looked at the price tag, and asked what was wrong with it. Broken headstock?
This 2012 Gibson Les Paul Studio Shred, sporting a Floyd Rose tremolo system, has a mahogany neck and headstock. The body is a glued sandwich of maple and mahogany. Mahogany is a wonderful tone wood with a fine and even grain. However, mahogany is, in my opinion, more fragile than other hard woods. My guess is, this Les Paul was dropped in transit (UPS/Universal Package Smashers strike again!) and the headstock, which is often unsupported in even the high-end graphite guitar cases, snapped when it hit the ground string-side down.
Well, I talked to my bride, who amazingly consented to my newest guitar. This would be my birthday/anniversary/Christmas gift for the this year. And the next year. And the year after that.
The staff at the local guitar store said that they could get me the truss rod tool, original hard shell case, registration paperwork (this was a BRAND NEW guitar!) and get me out the door, incredibly cheaply for a Les Paul. No doubt the store also received a settlement on the freight-damaged guitar, but I digress…
I couldn’t pass it up and quickly took it to the shop.
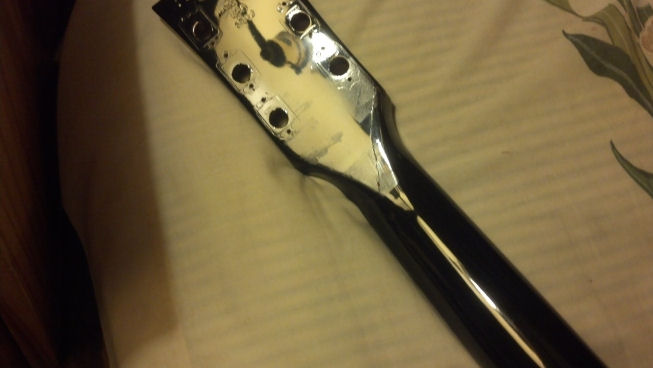
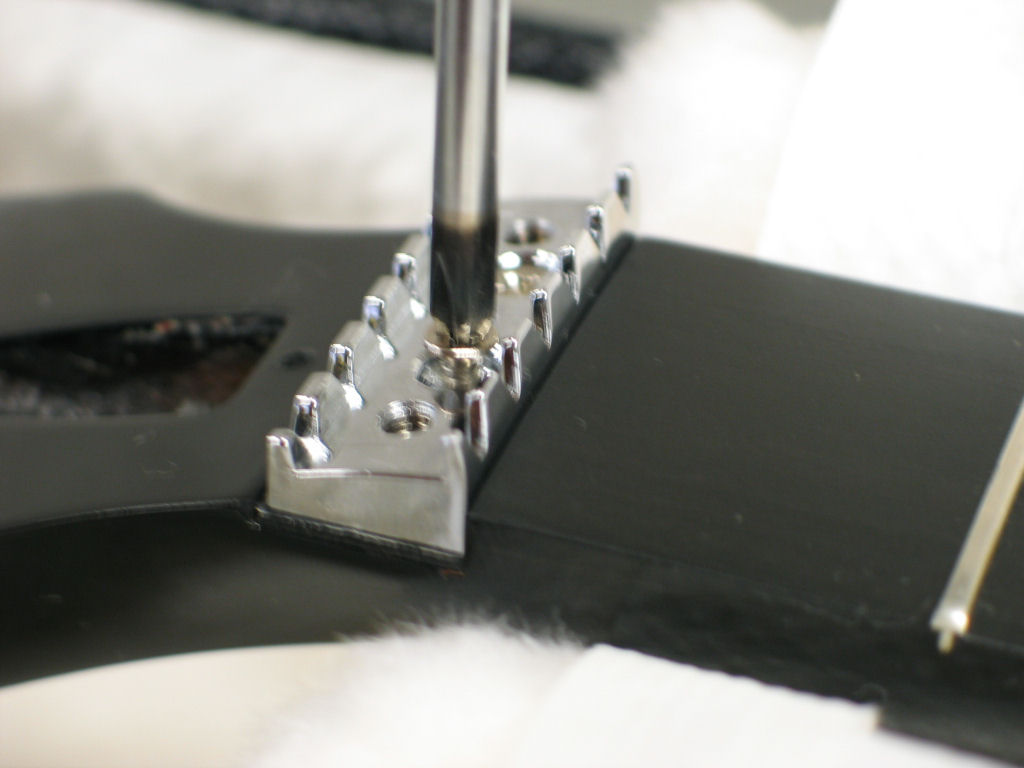
Damage assessment proceeded with blocking the Floyd Rose tremolo, stripping off the strings, pulling off the locking nut, removing the tuning machines, and taking a look at where we were.
Amazingly, the veneer over the tuning head, with the Gibson logo, was bent but undamaged!
The break was clean, for the most part, with just a little damage to the finish of the guitar. However, to get the adhesive repair all the way into the furthest extents of the break would take some thought.
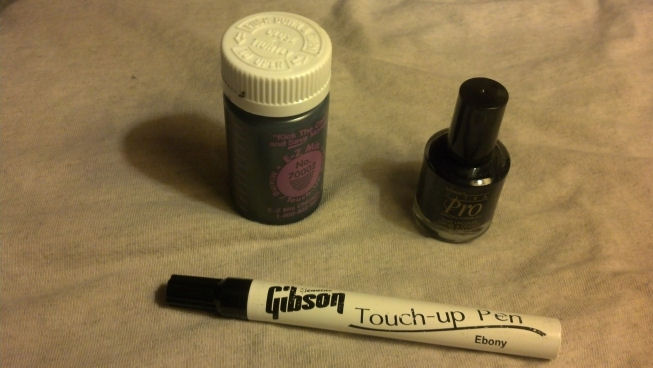
Other areas of the guitar were damaged in the ‘accident,’ and would require some touch-up to the nitro finish. This could be done on a small scale, with a touch-up pen. I’d cross that ‘bridge’ when we got there.
My plan was to glue and clamp the broken headstock back onto the neck without separating the two parts and damaging the veneer on the face of the headstock.
As mahogany is a porous wood, I would avoid using epoxy, because the components that make up the mix might penetrate into the wood at uneven rates, potentially compromising the strength of the final bond. On the other hand, the tension of the strings would tend to pull the joint apart, so I thought that a repair like this would stretch the limits of adhesive chemistry. Luckily, the locking nut arrangement would keep the tension on the playable portion of the strings, while the remaining string running up to the tuning machine could be entirely slackened after the guitar was tuned and the nut tightened. Further, I was assured that Tite-Bond glue would create a finished repair that was stronger than the wood surrounding the joint.
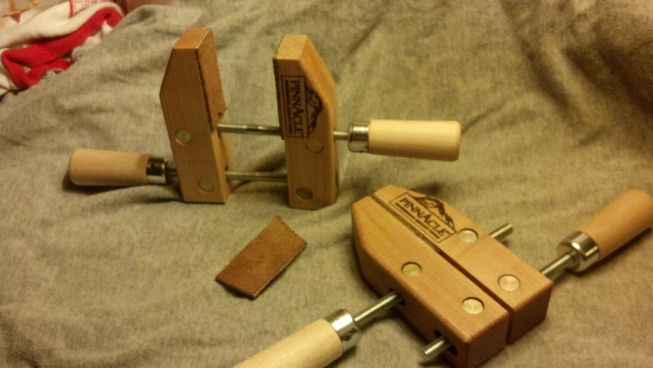
I prepared the jaws of my wood clamps with leather. This is something that I intended to do for a long time, but protecting the fresh nitro-cellulose finish on this guitar motivated me to “git-er-done!”
I poured a little Tite-Bond into a non-porous mixing container.
A little distilled water would thin the wood glue to get it down into the small cracks up against the veneer face of the headstock.
Here, I was doing a literal ‘dry run’ to see how the clamps would work.
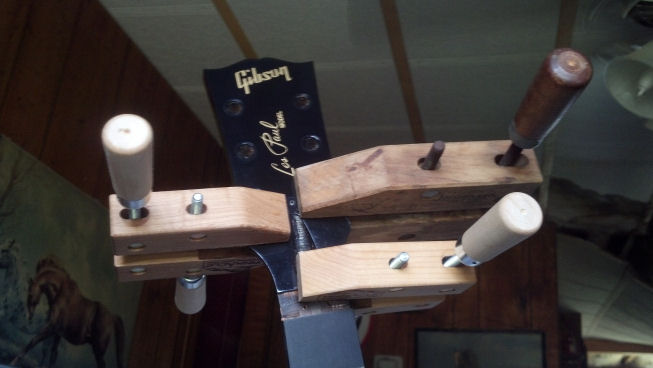 Three clamps may be the way to go here.
Sorry about the blur, but I’m holding the guitar vertically while the thinned Tite-Bond runs down into the recesses of the break.
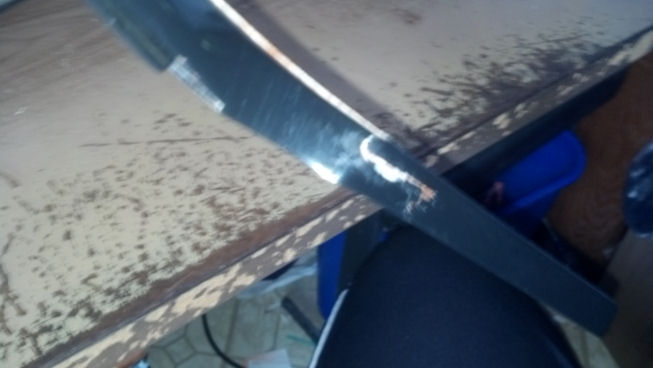 Again, things are a little ad hoc while running the thin glue where it needs to go.
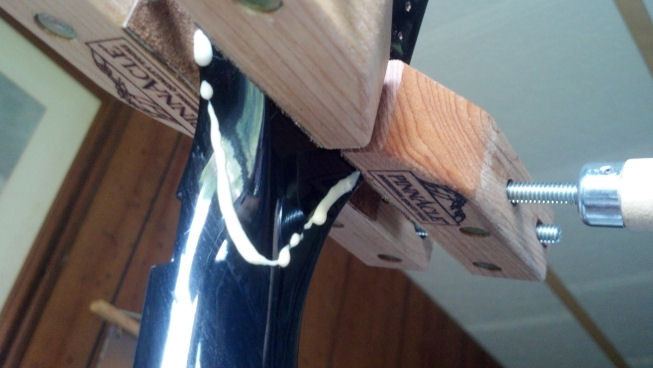 The rest of the crack is painted with straight Tite-Bond and squeezed as shown here to blow all the air out of the crack. We’re just doing this once!
The neck, about 24 hours later. The finish needs to be buffed to remove the marks from the clamps, but the crack is closed with no chipping.
There are three choices for paint touch-up. One is polyurethane automotive touch-up paint, black nail polish, and the right tool for a Gibson nitro finish, e.g. the paint pen.
 Best shot of the Gibson paint pen in action.
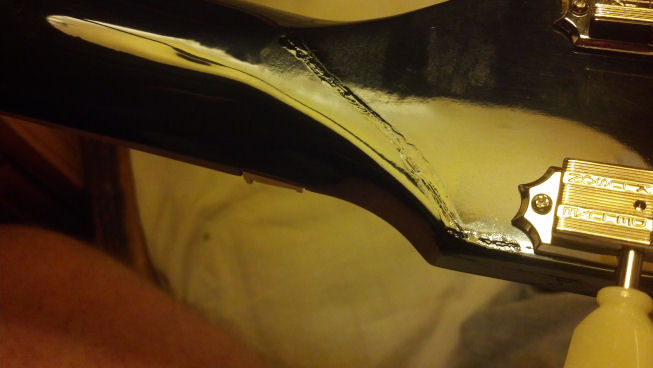 This is the repainted areas before machine buffing.
 More carnage from the original accident. The tremolo string cover is snapped in half.
 Note the damage to the finish where the impact broke the tremolo spring cover.
 Once the new cover is installed, this finish damage will be hidden.
 Here’s a little guitar tech porn. The locking nut is grounded to the rest of the guitar using a flat sheet of copper-plated Kapton tape, rather than a discrete wire;
 The washer under the truss rod nut.
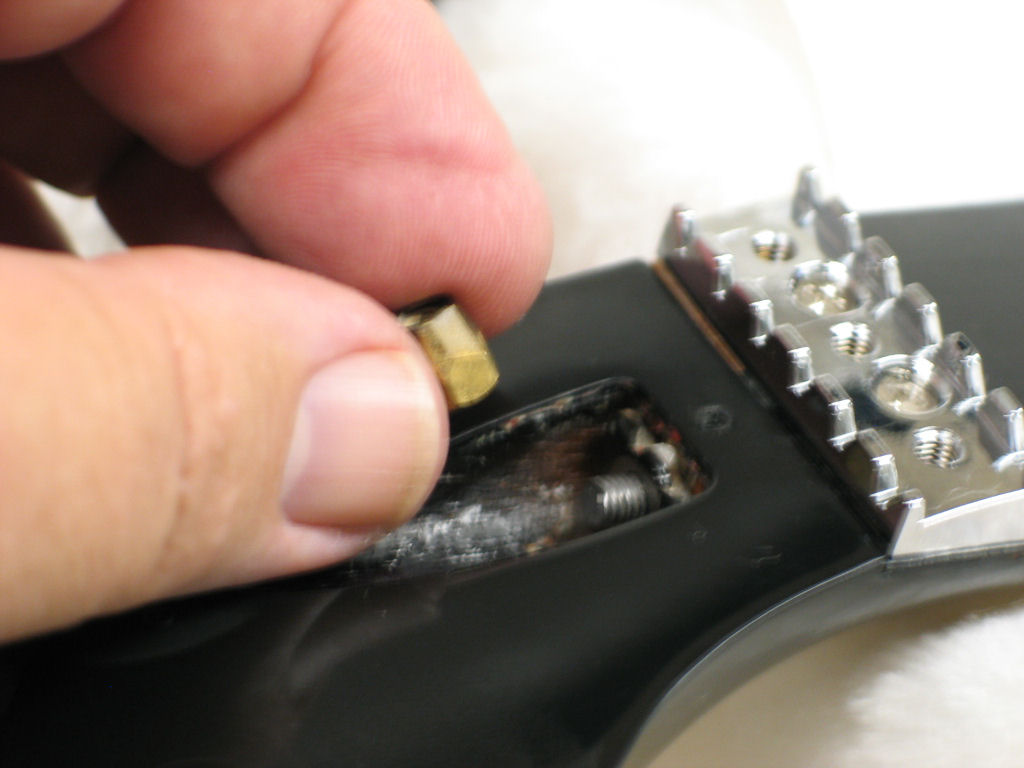 And the all-important truss rod nut.
 Here is a close-up of the factory Gibson truss rod adjustment tool.
 Here you can see that the finished repair is not perfect but a little finish irregularity is all that is left of our broken headstock.
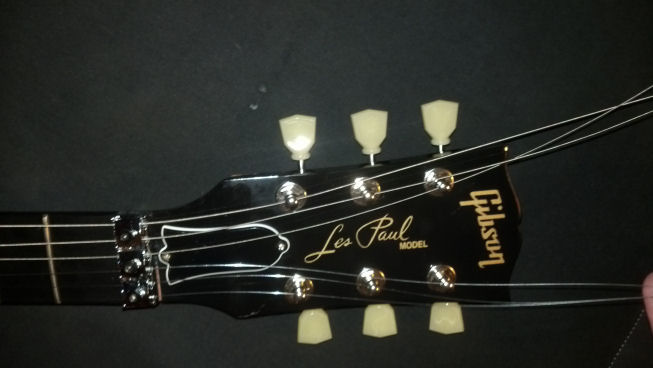 More tech porn. These tuners are not lockers but I’m in the habit of stringing a guitar string through the tuner, then pulling back enough string to get the wrap I want around the post.
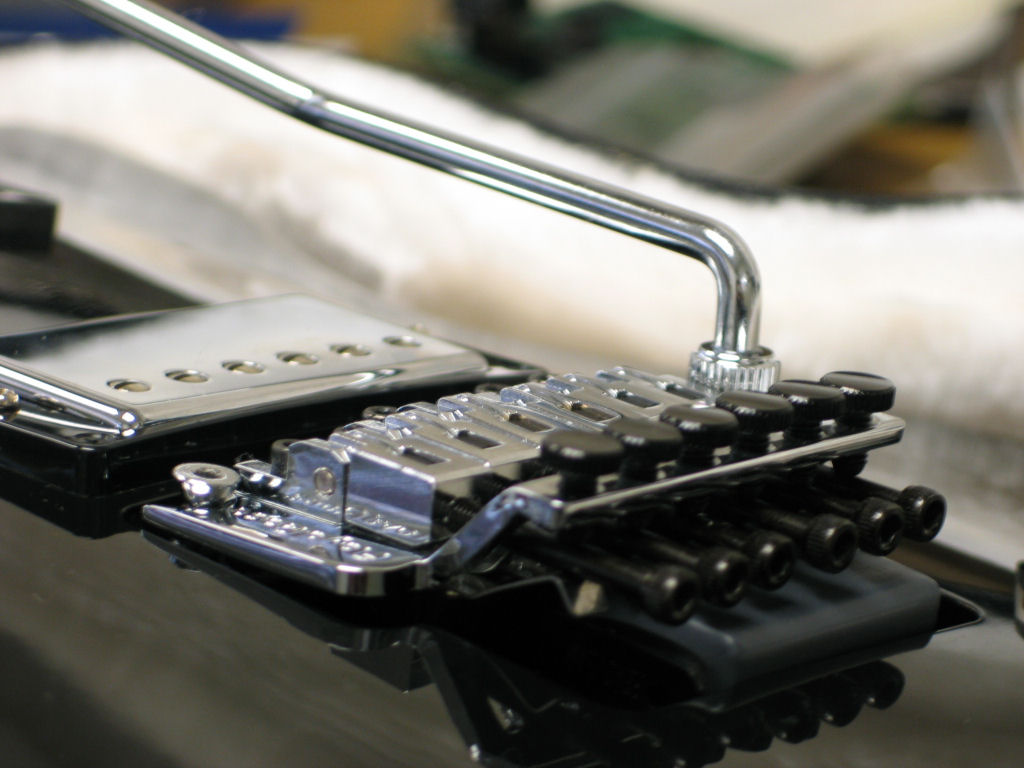
 Recognize my Floyd Rose Tremolo block? It’s a nine volt battery covered in a layer of heat shrink tubing. The covered battery is ‘close enough’ to get the tremolo level on the arched-top Les Paul.
 More tech porn. This Floyd Rose was probably built in South Korea. I may investigate whether the European version is a little ‘tighter’ because the tremolo bar can rattle in the socket, making a clicking noise while working the tremolo. Probably not what was intended…
Here, a new tremolo cover is fabricated. I used a smoke/translucent cover to show off the springs and tremolo block. Yeah, I’m a geek. The tape will protect the finish of the new cover.
 Here is my plexiglass ‘mummy’ ready for the edge trimmer. Once the outline is established, holes will be drilled and countersunk, and the edges will be flame-polished.


