Fender Hot Rod Deville Makes Funny Noises!

Matt from My Twilight Pilot told me that his wonderful Fender Hot Rod DeVille had developed some strange noises.  The volume control was really too sensitive, no low end audio, audio clipping, and we were experiencing some general shakes, rattles, and rolls.  Could the Unbrokenstring Crew help?

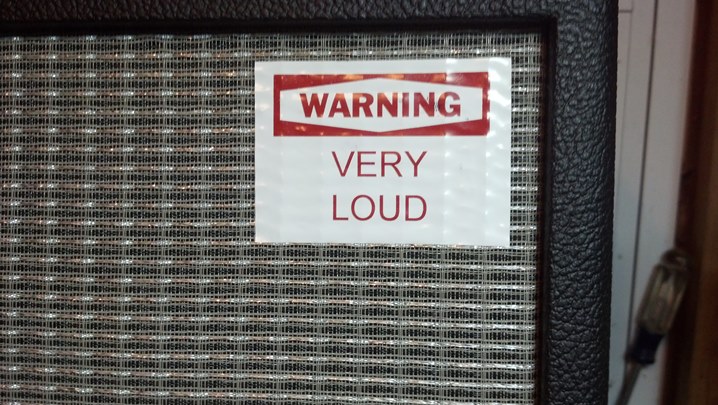
Finally, an appropriate warning label…

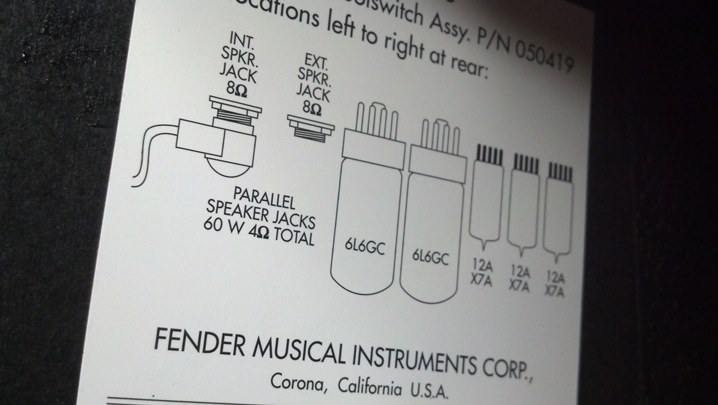
This brand new tube chart clearly shows that this is one of the wonderful reproduction units from Fender.

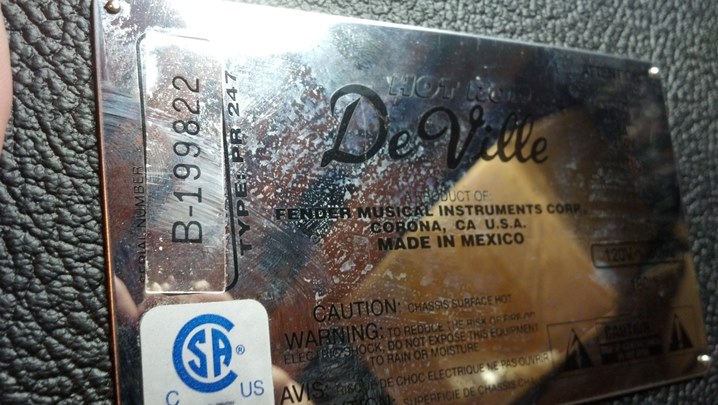
Service literature is easy to get from Fender for this model.

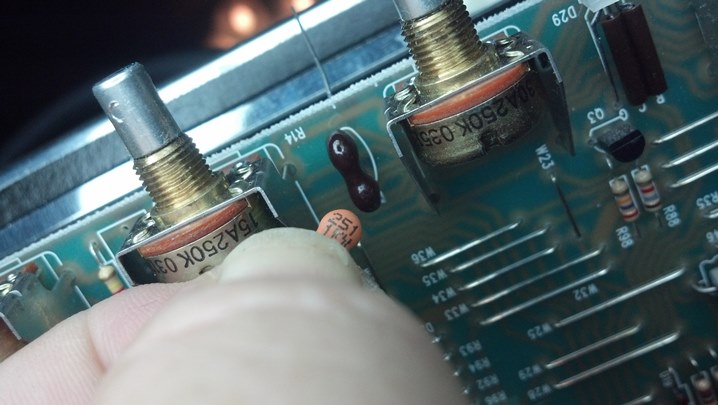
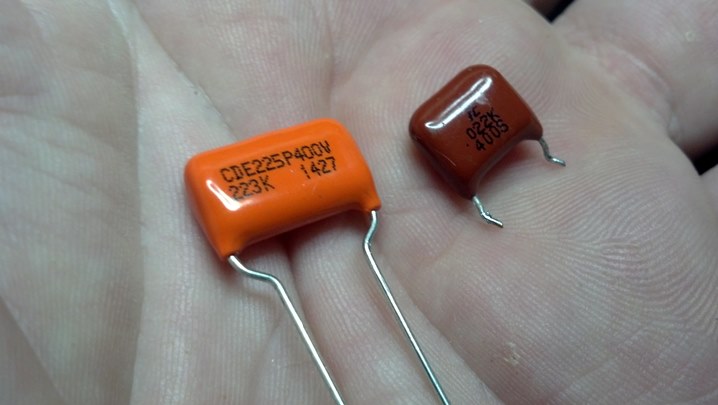
The treble tone cap was replaced with a silver mica unit (already installed.)

The bass tone cap on the right was replaced with the orange film cap on the left.  The larger size buys us some reliability as the internal dielectric is a little thicker, a good then when operating at a plate voltage of 350 volts.  The mid-range tone capacitor was also replaced with another orange CDE cap of the proper value.

The tone stack capacitors are now soldered in.  The leads will be trimmed and the rosin flux will be cleaned off.

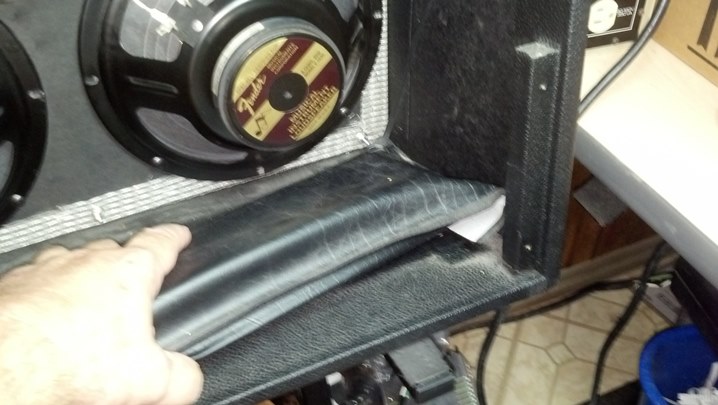
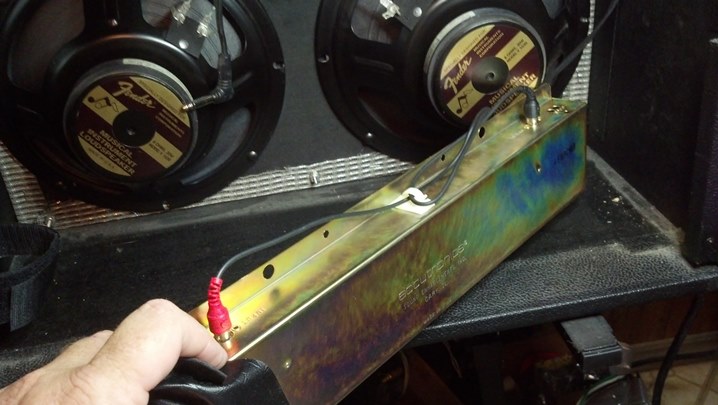
When the signal generator was swept through the audio range, a mechanical rattle was heard in the vicinity of the reverb tank.  I’ll loosen the reverb tank and do the test again.  This thing IS loud!

A quick check of the electrical connections shows that everything is as it should be.  But the rattle remains!

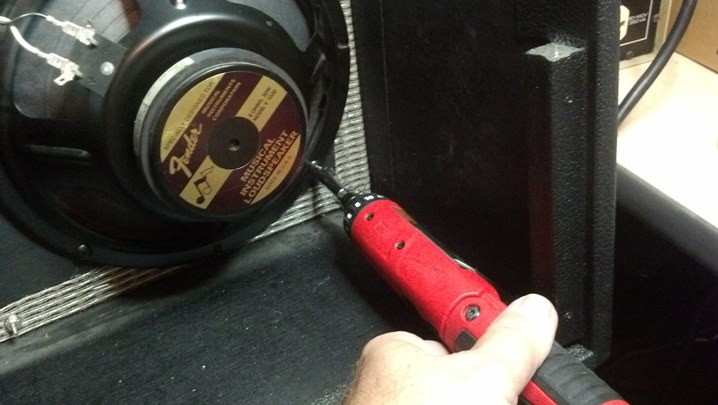
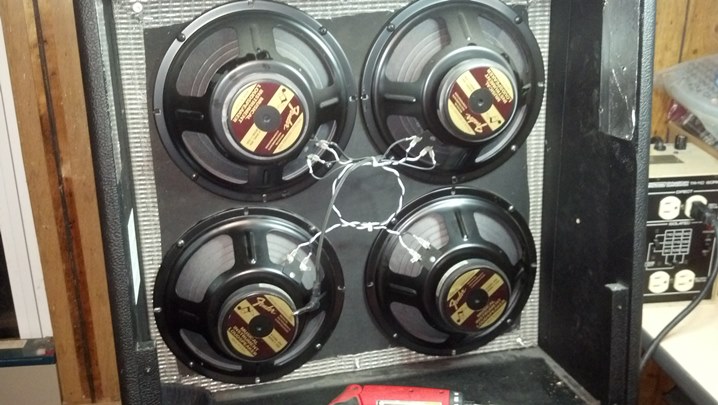
The loudspeakers are a little loose, but no rattle here.

Aha!  It’s the bottom of the baffle board.  All the bolts were loose.  Here they are re-torqued to about 5 ft-lbs.

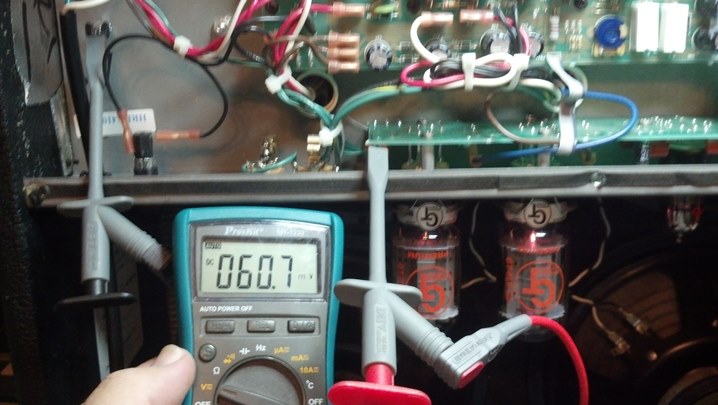
A fresh set of output tubes were run for four hours and re-biased per Fender specs.  A 12AY7 was installed in the first preamp.  This tube has lower gain than the 12AX7 used at the factory.  This change gives a little more ‘spread’ to the volume control, increasing its usefulness.

This is a view seldom seen unless you are in the business!  Nice lead dress.

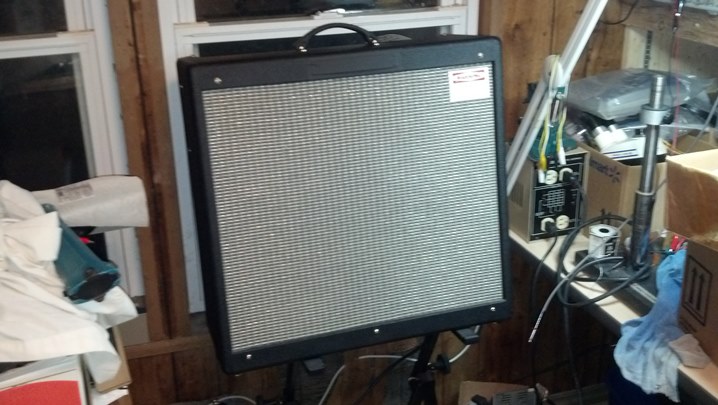
To do the full-power tests, the window is opened and the amp is turned around.  Yes, this is VERY LOUD!  And quiet when it should be.  My job here is done.

Support this local band!

Thanks for reading all the way to the end!

Contact – David Latchaw EE
Cell – 281-636-8626

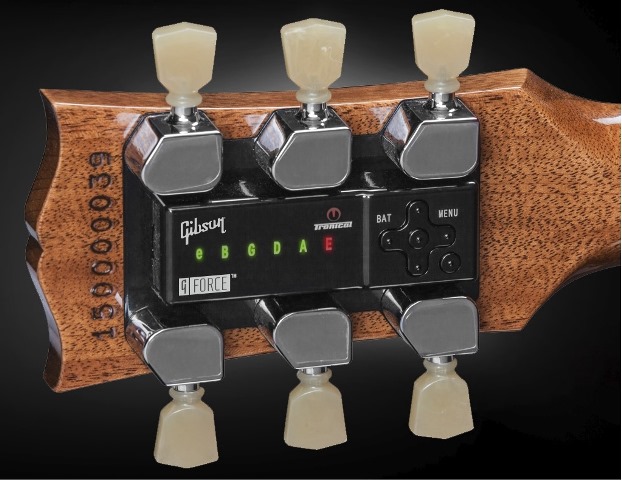
How Gibson Les Pauls Lose Their GForce Tuners

I own several old Gibson guitars , so I am only passively interested in, and mildly amused at, the flame war over the self-tuning GForce system included on new Les Paul guitars.

Jacob of The Unbrokenstring Crew said “The Internet is where nuance goes off to die.” Like most topics of discussion, the flame wars over the Gibson GForce system has devolved into a bipolar, binary love/hate relationship. Perhaps, someone actually thought about the situation, and decided that they would sell more guitars WITHOUT the GForce system installed. To that end, our local national guitar retailer has received some interesting tool in the mail.

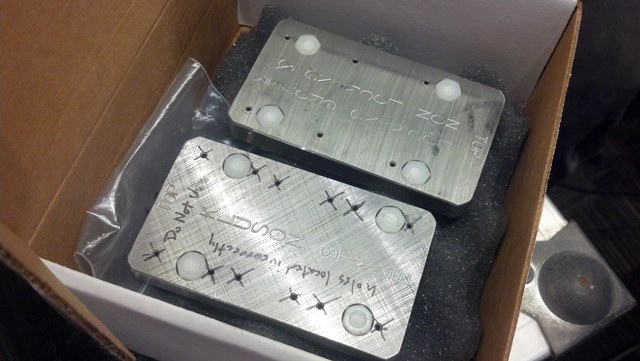
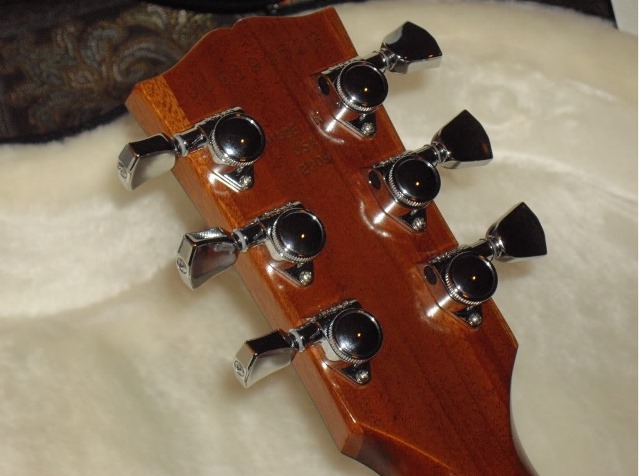
These blocks of steel have nylon alignment pins that fit in the factory tuner holes used by the GForce system. The small holes are where the headstock will be drilled for manual tuners of various makes and models.  The Klouson holes are in the wrong place, so we are only installing Grover tuners for now.

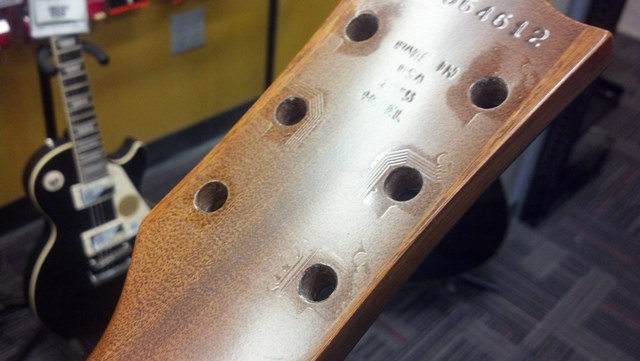
Here is the back of a Les Paul headstock with the GForce system removed. Except for the indentations in the wood where the printed circuit board traces were, you would never know that they were there… more or less…

The GForce tuner assemblies were removed from the headstock. These are to be returned to the Global Headquarters of the National Guitar Retail Chain when we are through.

Perhaps they will salvage the rechargeable batteries, or maybe they will be used for spares as these fail in the future on other guitars. Hey, it could happen!

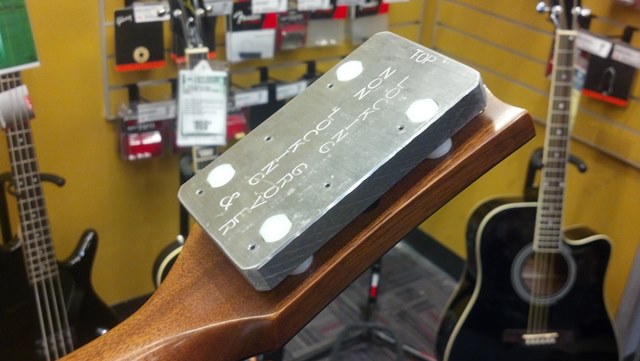
The nylon alignment pins hold the template in place. Drilling a hole and installing new manual tuners is straight-forward.

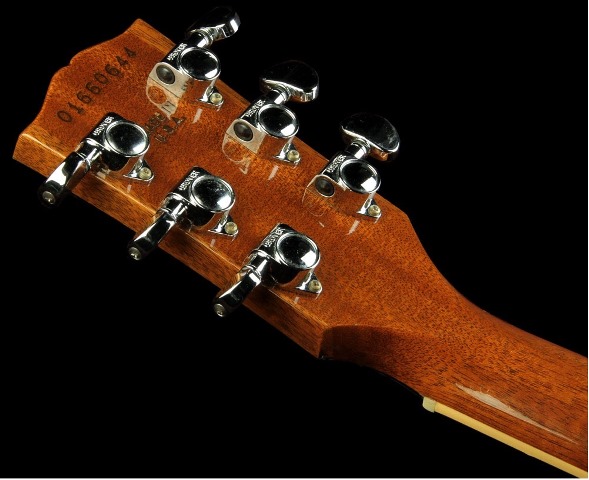
Grover tuners, anyone?

How about some locking Grover tuners?

For the purists, here are some Klusons on an older guitar.

I will not weigh in on the flame war over the deployment of the GForce system. But now you can go to a retail outlet and find a 2015 Les Paul that does not have the GForce system installed. We’ll see how this decision plays out over the coming years.

Thanks for reading all the way to the bottom!

Contact – David Latchaw EE
Cell – 281-636-8626

Gallien-Krueger 700RB MKII Hit By Lightning!

In a few instances, poor wiring in the venue has killed sound equipment.  More rare is the instance when you are actually playing and lightning strikes!  If you are Angus Young, being “Thunderstruck” is OK, otherwise, it is NOT COOL.  This Gallien-Krueger bass amp was soldiering away at church when a nearby lightning strike ended the Praise and Worship portion of our service.  Could the Unbrokenstring Crew help?

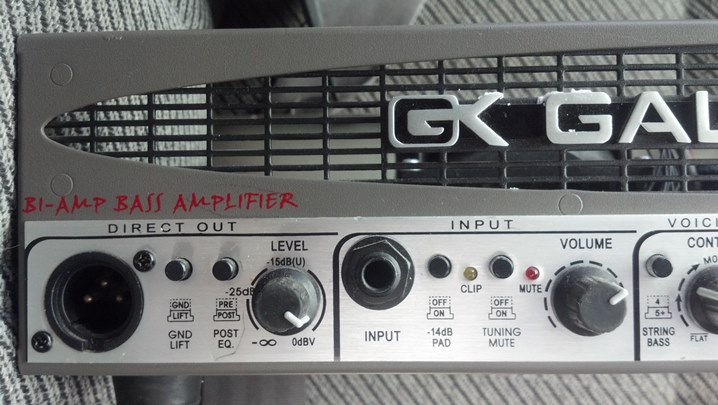
Let’s start off with some gratuitous tech porn.  This unit has a built-in DI box with a balanced output.

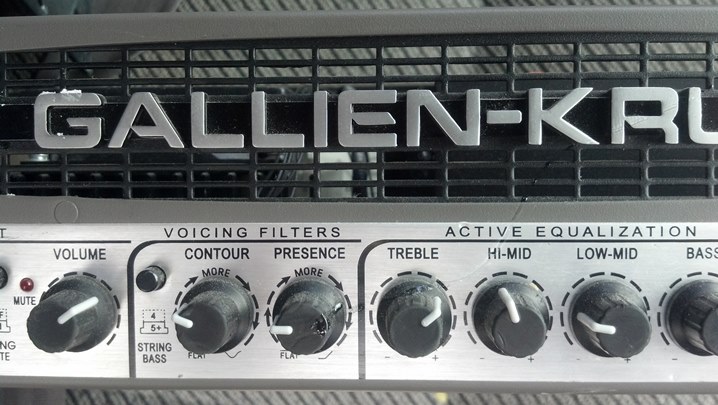
We have all sorts of tone-shaping capability.

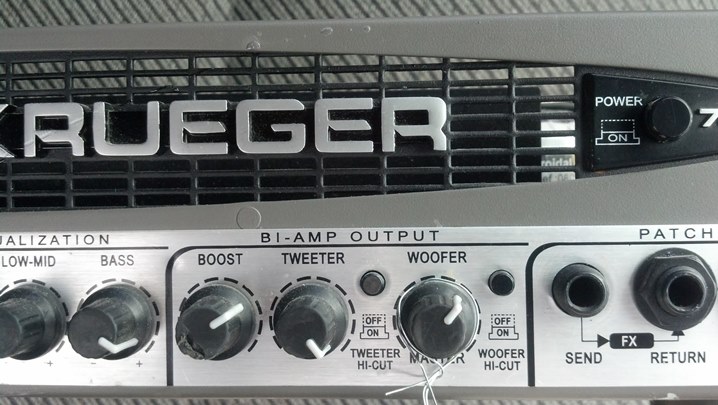
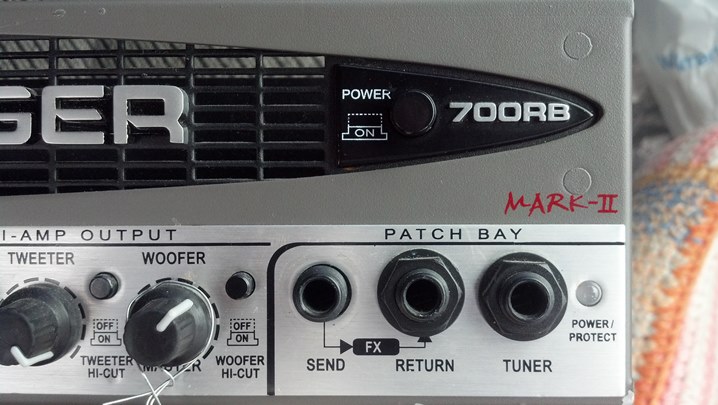
The separate outputs for tweeters and woofer are nice.

The effects loop connectors in are front, as well as an easy means to attach a tuning pedal.  The POWER / PROTECT LED is RED until everything stabilizes, then turns green;  And, of course, the ubiquitous ON/OFF switch.

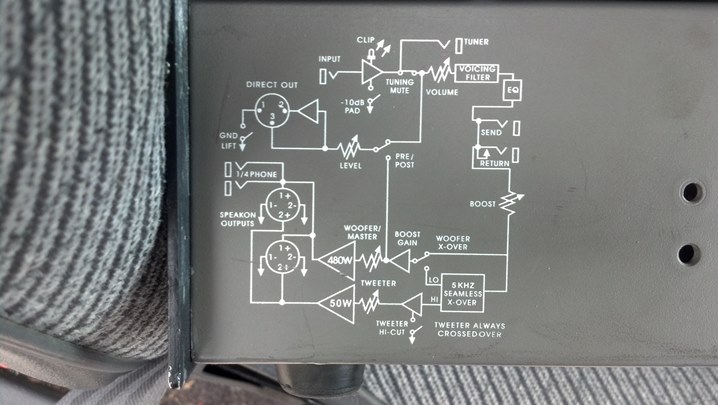
Here is a block diagram for those who are unfamiliar with all the architecture and features of this amp.

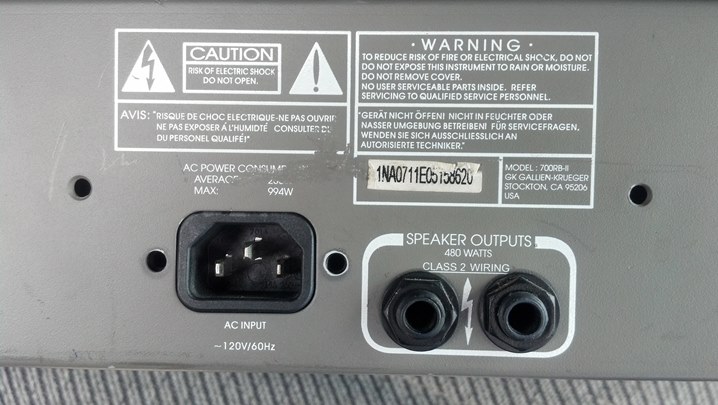
These speaker outputs connect the combined woofer and tweeter signals to a cabinet.  The AC input is self-explanatory.

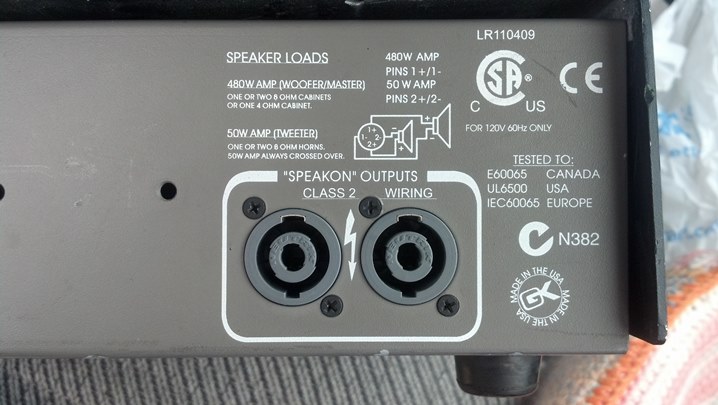
These Neutrik connectors allow access to the separate tweeter and woofer amps, if that works with your cabs.

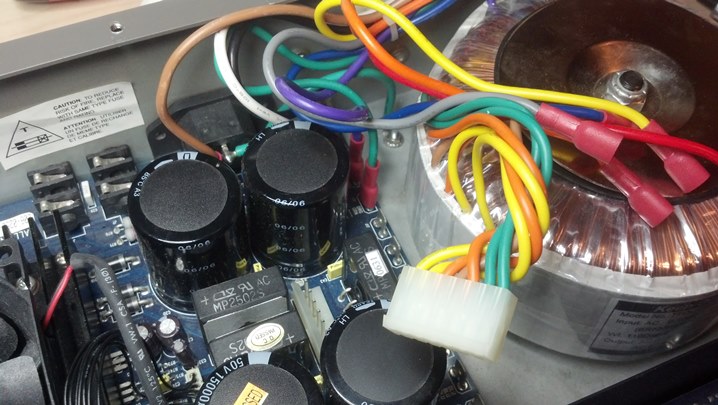
The fuse was blown, but I smelled something burnt.  The main circuit board needed to come out.

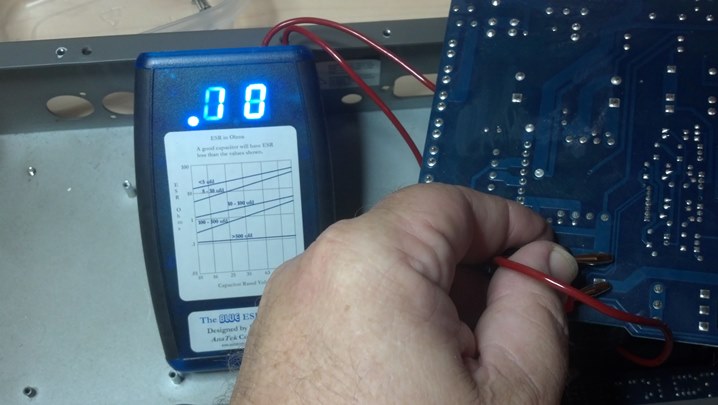
We had a blown fuse, so I did some troubleshooting before replacing the fuse and powering up again.  The filter capacitors were slightly swollen, so I checked them for ESR.

The ESR meter showed that these caps were OK.

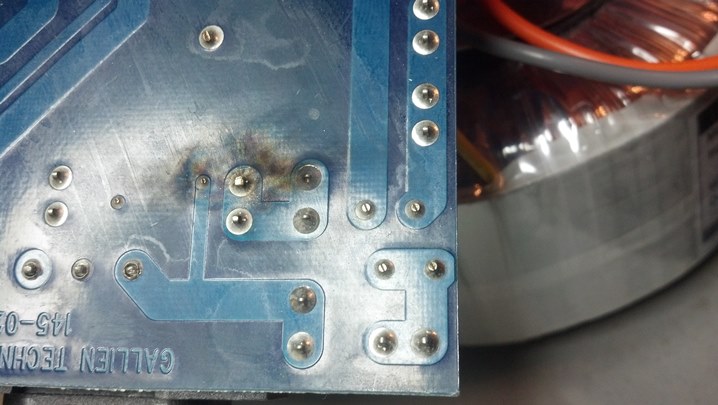
The only visual sign of anything burned was this residue from an arc flash. Little bits of metal are burned and blown around the vicinity of an electrical arc.  The electrical surge of the lightning transient plus the conductivity of the ‘smoke’ from the arc flash blew the fuse.  All this happened during the lightning strike.  Fortunately the circuit board was not pitted.

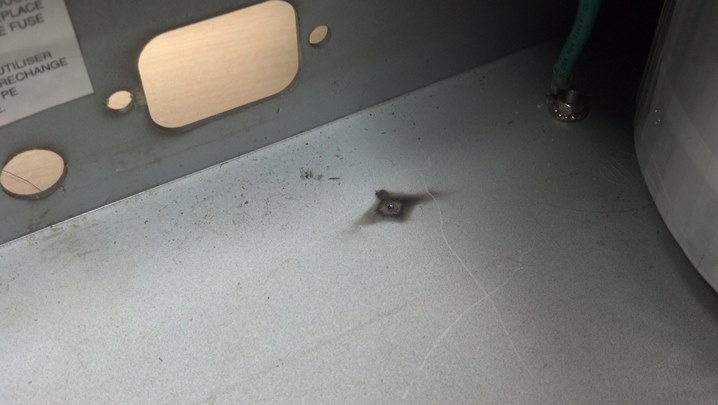
The case was pitted.  This is where the metal in the arc flash came from!  We’ll clean this up and then replace the fuse.

Everything worked well.  The unit was returned with a very modest repair bill.  We have yet another happy customer!

Thanks for reading all the way to the bottom!

Contact – David Latchaw  EE

cell – 281-636-8626

Ibanez Bass Fretless Conversion

This straight-ahead Ibanez four-string bass will become a springboard for a bassist to expand his musical horizons. Can the Unbrokenstring Crew turn this into a fretless bass? Let’s find out!
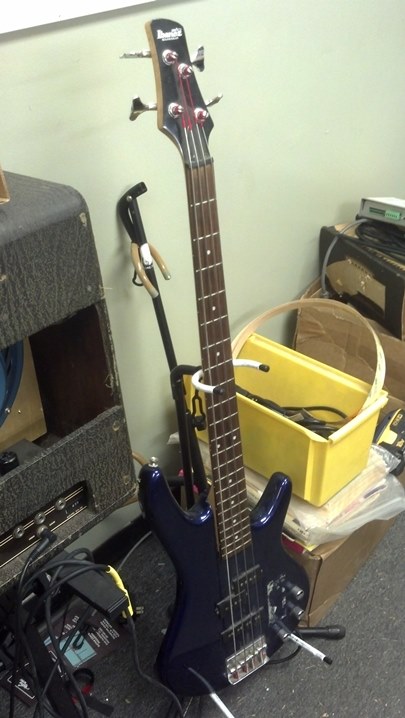
Because this will be a training tool and not a piece of performance art, the customer wanted the fret channels and position dots to remain visible.  Maple, a contrasting wood will fill the fret slots.  The maple veneer is coiled up in the yellow box next to the bass.
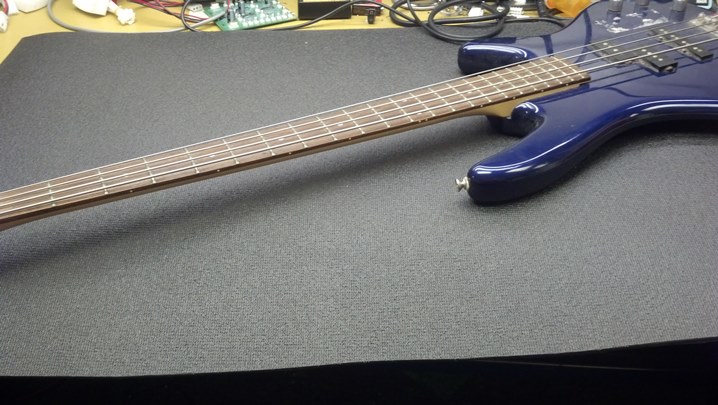
We’ll take one last look at the frets.  Say goodbye!
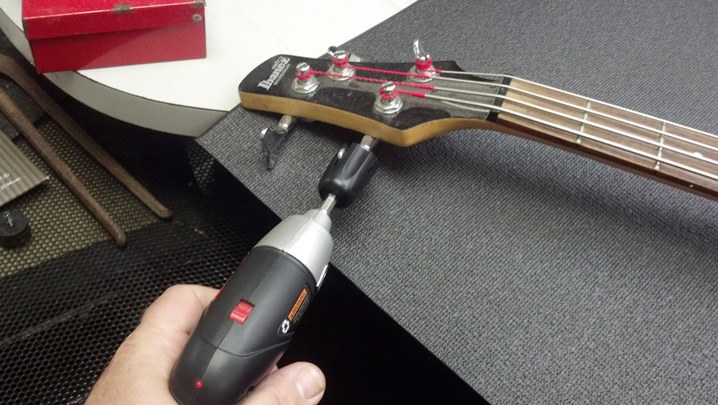
These strings are the original OEM Malaysian strings.  These are headed for the recycle bin.  The customer also asked that the headstock logo be removed, to add a little mystique.  The tuners will be removed and stored.
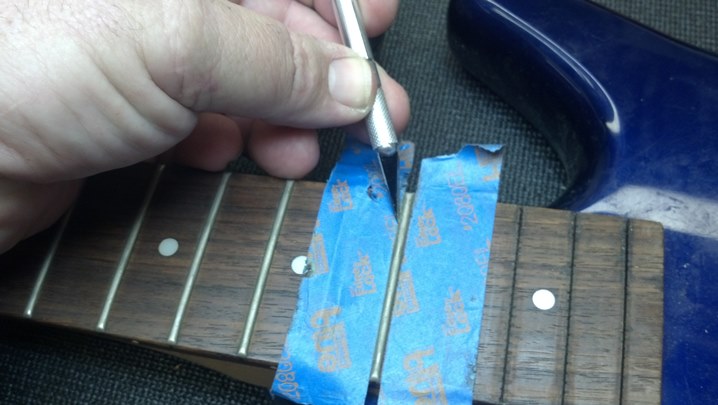
The tape protects the fret board from me.  An Exacto knife clears away the junk from the bottom of the fret to be removed so we can have something to grab.
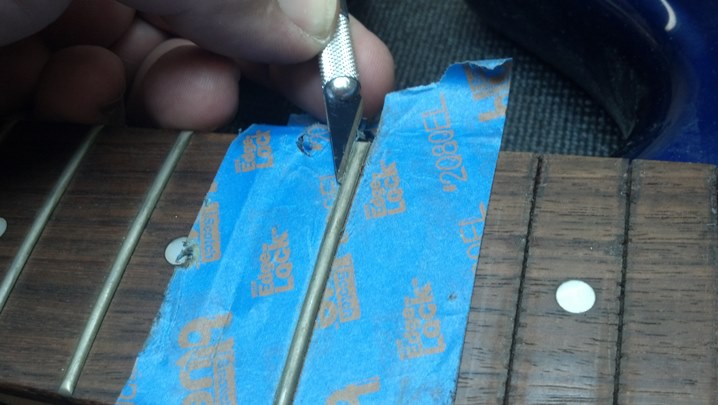
With a little care, the Exacto knife blade can be pushed under the fret wire to start the removal process.  Do Not Attempt This At Home, Kids!
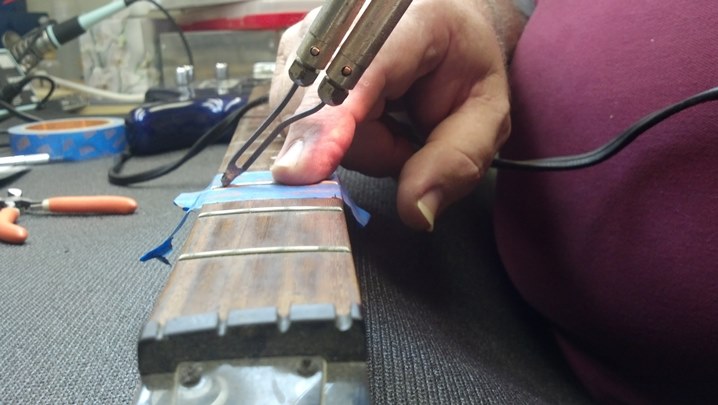
Each fret is heated with the soldering iron.
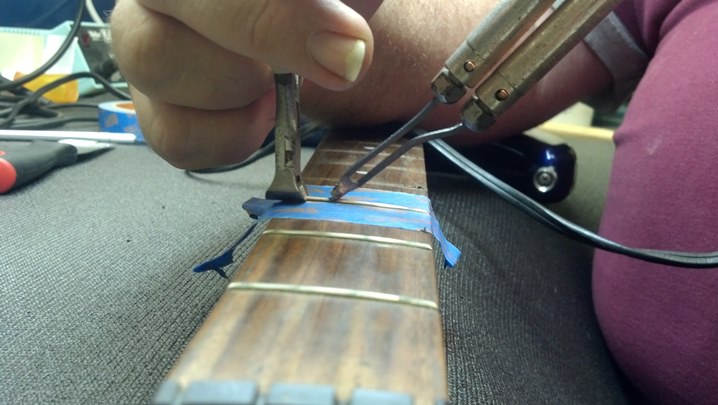
These Harbor Freight end-nippers have been ground flush and serve as a pretty good set of fret pullers.
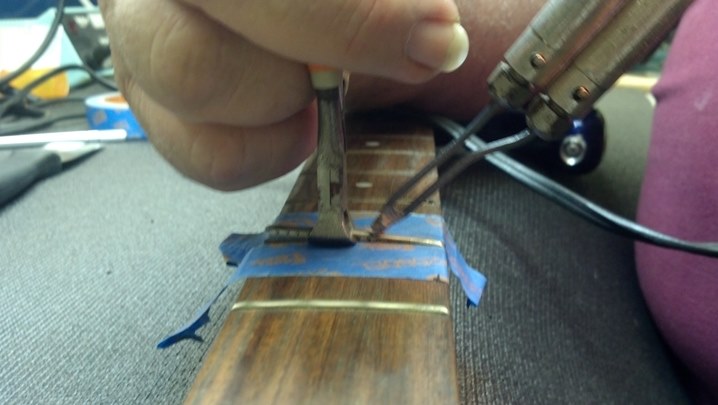
What the Exacto knife started, the fret puller finishes.
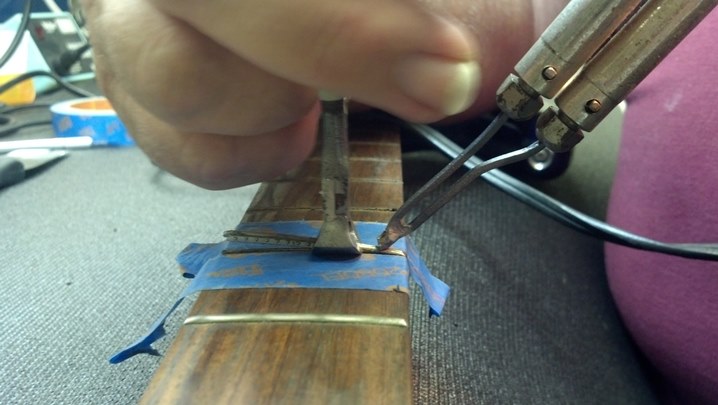
This takes a few moments so that I don’t tear out the wood around the fret tang.
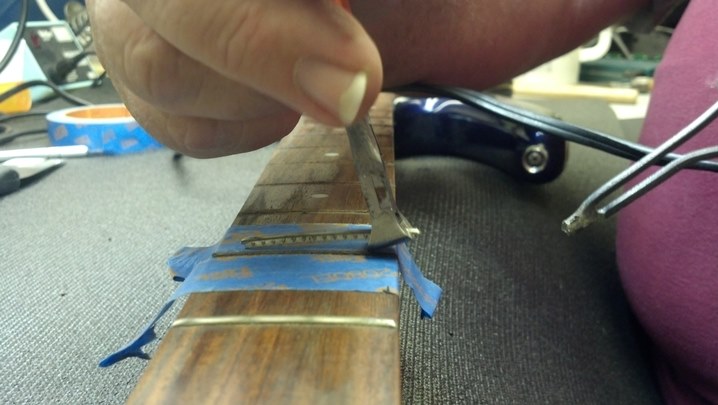
Houston, we are clear the tower.  Rinse, repeat.
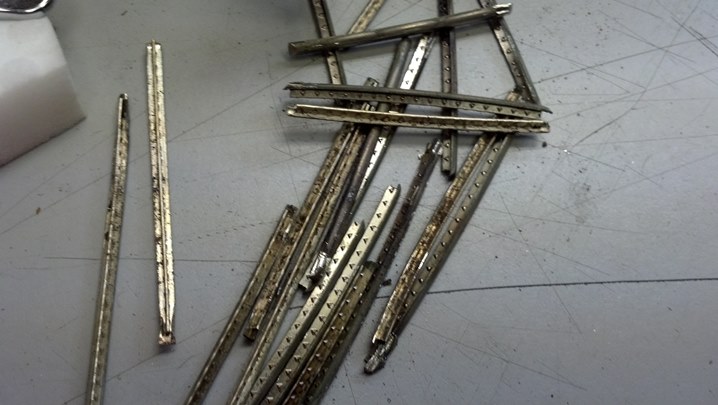
These are headed for the recycle bin, along with the strings.
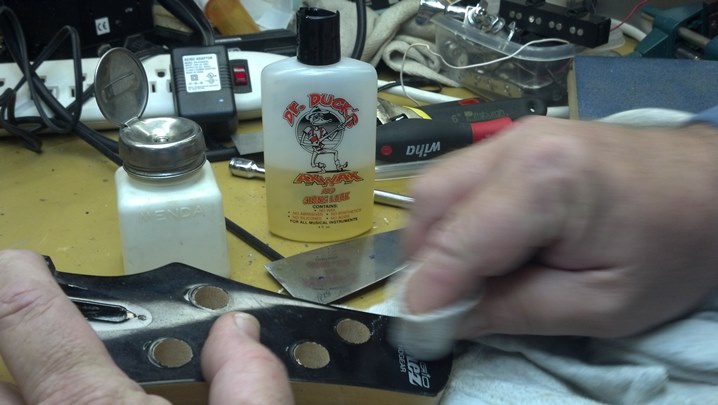
Some Dr. Ducks Ax Wax has just enough petroleum distillates to cut the headstock silkscreen.
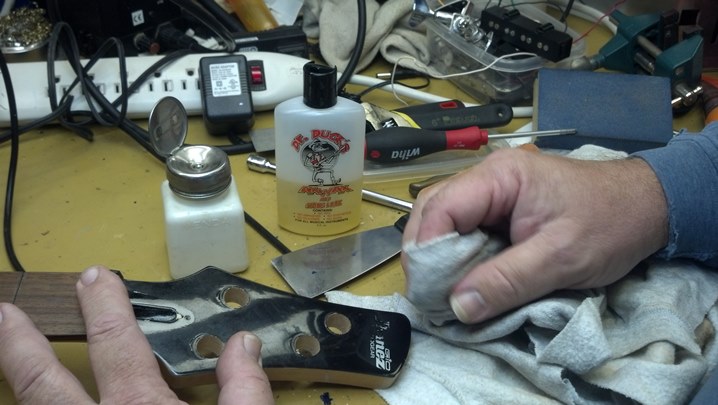
The head stock logo yields easily to a little Dr. Duck’s and a little Elbow Grease.

A tiny bit of compound restores the gloss in an even manner.  You can’t tell the silk screen was ever there.
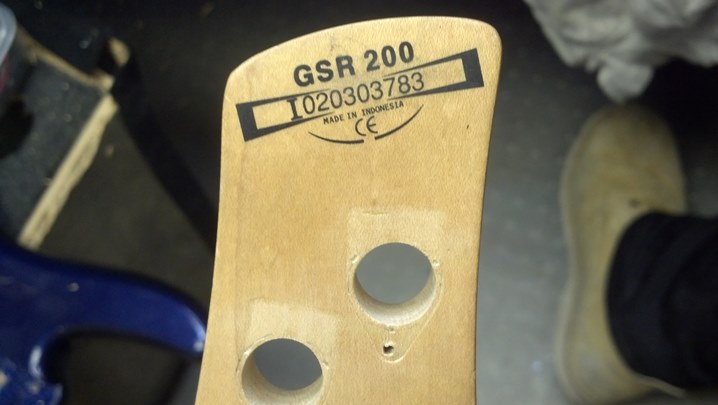
Say goodbye to the identification decal, too.  What the customer wants, the customer gets!

This was a decal, so it shattered into tiny fragments.  Be sure to remember this trick when you steal your next guitar.
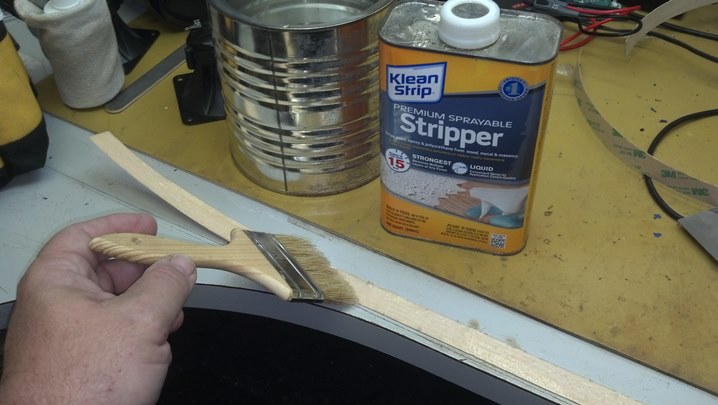
Now we move to the maple veneer.  The material we are using is sold as edging around laminate counter tops.  One face is covered with a thermally-sensitive glue.  This glue can be easily removed with some paint stripper.
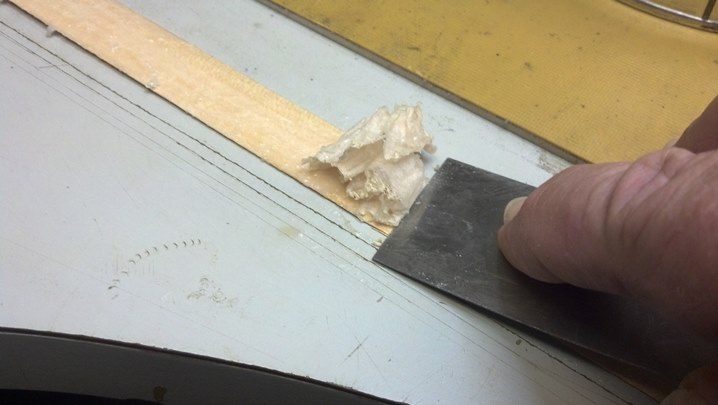
The stripper was brushed on, then scraped off.  This is kinda fun!
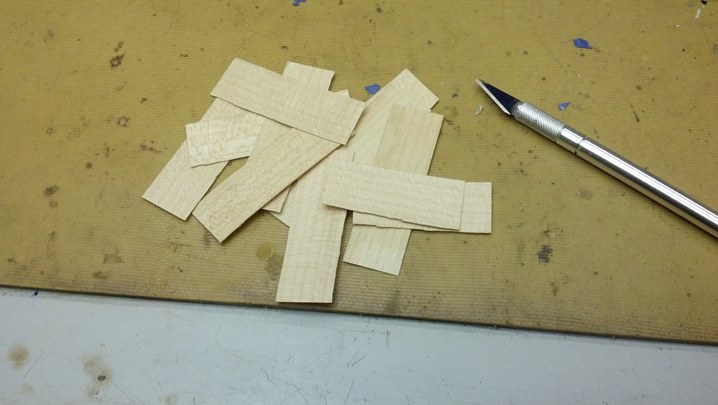
After the paint remover evaporates, we cut the veneer into two and a half inch long strips.
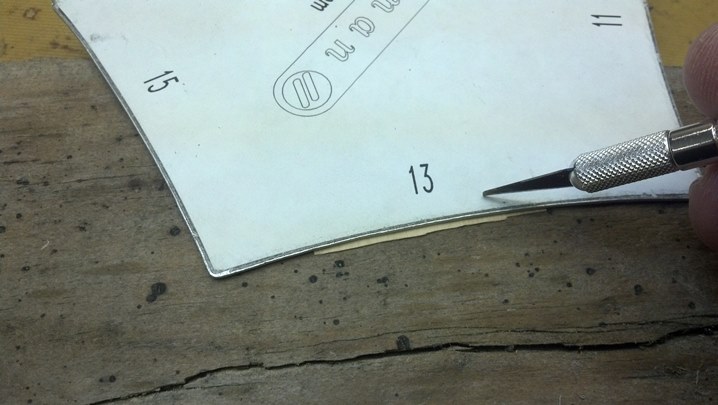
The bottom of the fret board slots are curved at the same radius as the fret board.  So I am using this home-made radius gauge as a cutting guide to radius the bottom edge of the maple veneer to match the bottom of the slot.
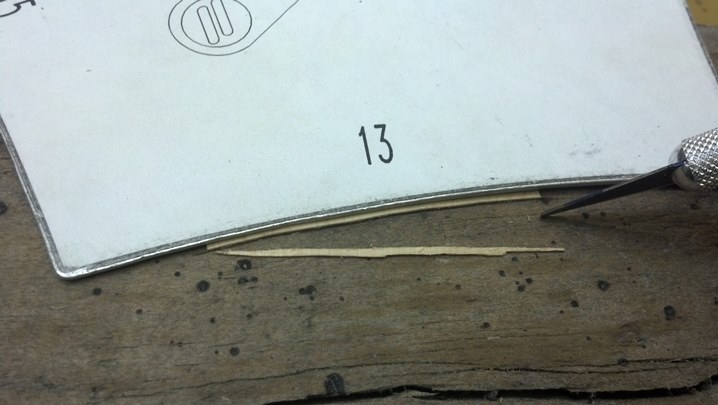
An Exacto knife makes short work of the veneer.  You sharp eyed visitors may note that the Ibanez bass fret board is 14 inch radius, not 13.  Leaving the center a little high allows a place for more glue.  This radius works perfectly.
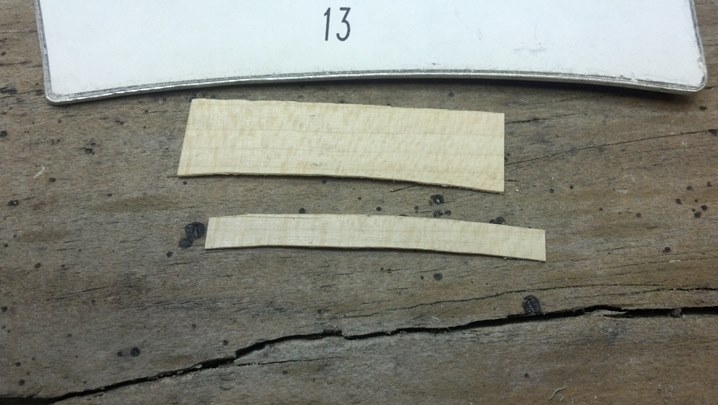
As one edge is cut, the veneer is slipped out from under the radius gauge, and another cut is made.
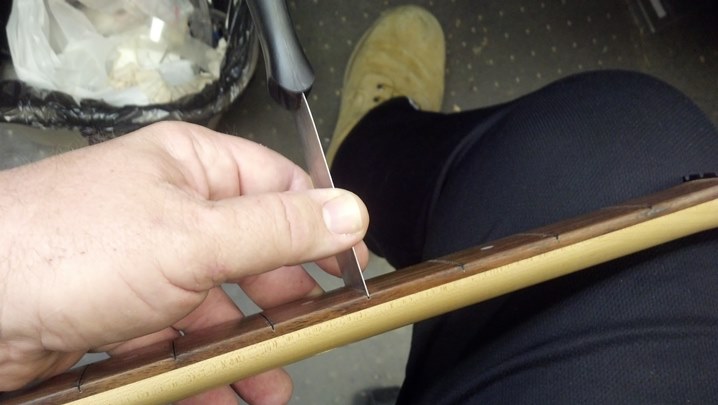
The fret slots need to be clean and straight.  Here, my scraper is just the right size to clear out the slot.
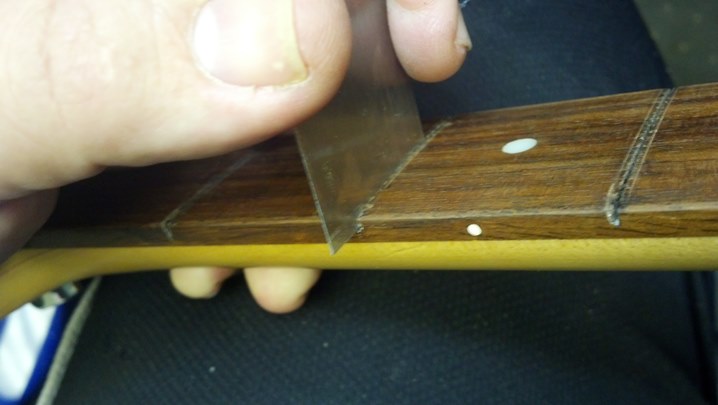
The ends of this scraper were ground square, creating a nice slot cleaner.
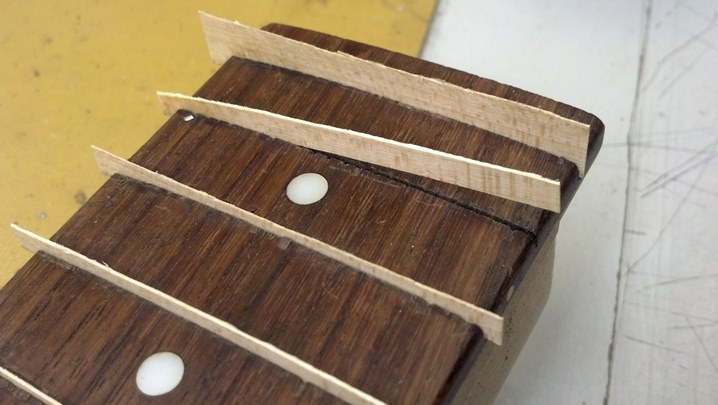
The radiused maple veneer pieces were glued into the slots using hide glue.
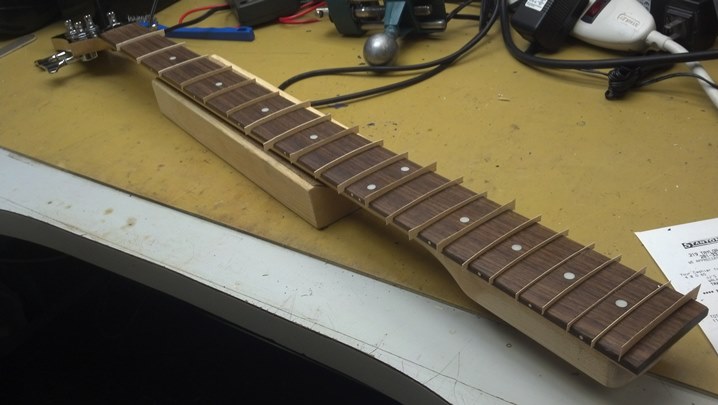
This looks like an oriental stringed instrument neck.
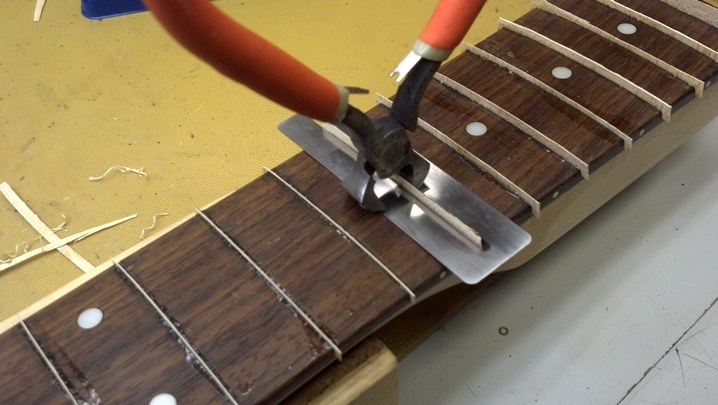
After the glue dried, I used the end nippers to do most of the coarse trimming.  A fret board protector acts as a shim to raise the cutting edges off the face of the fret board.
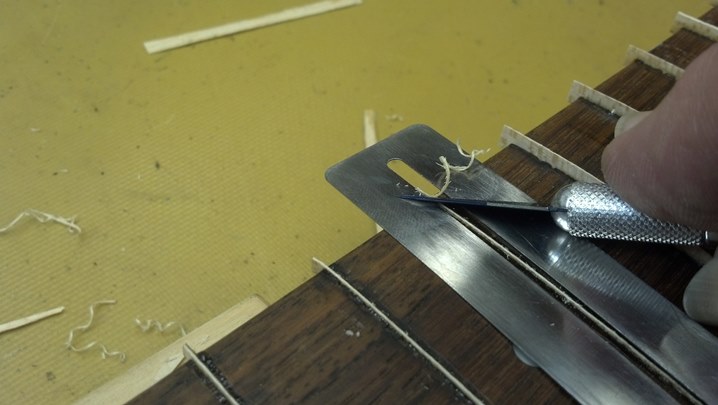
Next, I’m trying out the Exacto knife on the maple.  Nice curly shavings came off the maple filler.
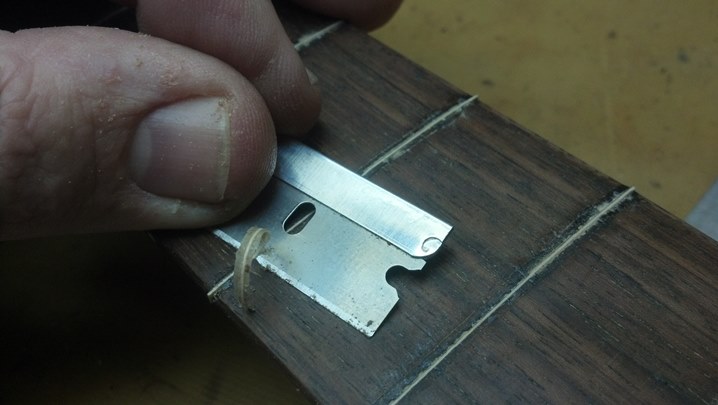
Working from the center of the fret board out, the single edged razor blade was perfect for the final smooth cut.  Note that a bit of the glue fillet is being removed here, resulting in a nice flat surface on the fret board.

Here is a closeup of the job the razor blade did on the fret board.  This will sand nicely.  A final check of the truss rod assures that the fret board is held absolutely straight, no relief or bow of any sort.
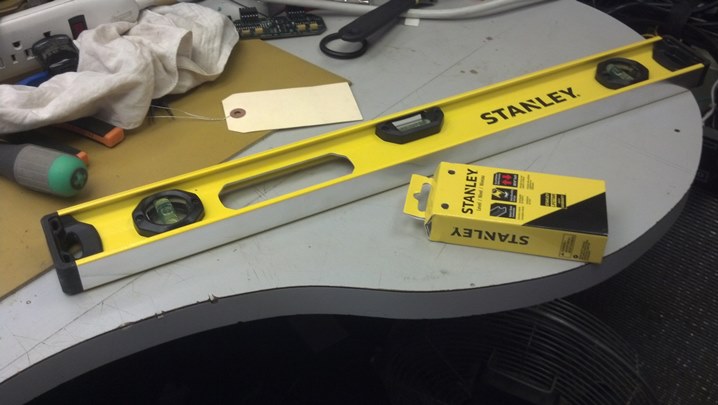
This Stanley spirit level has one edge machined to a very precise flat surface.
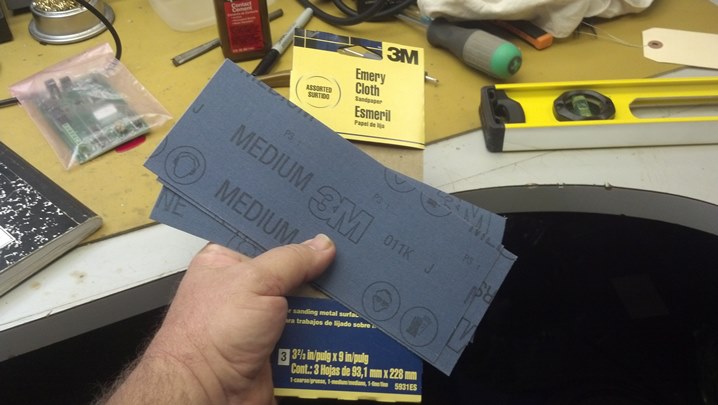
This emery cloth is a very aggressive and durable abrasive medium.

A sheet of emery cloth was cut to fit the machined edge of the spirit level.  Now we’re ready to build our own sanding beam.

The emery cloth will take at least two coats of contact cement because the first coat soaks into the cloth.
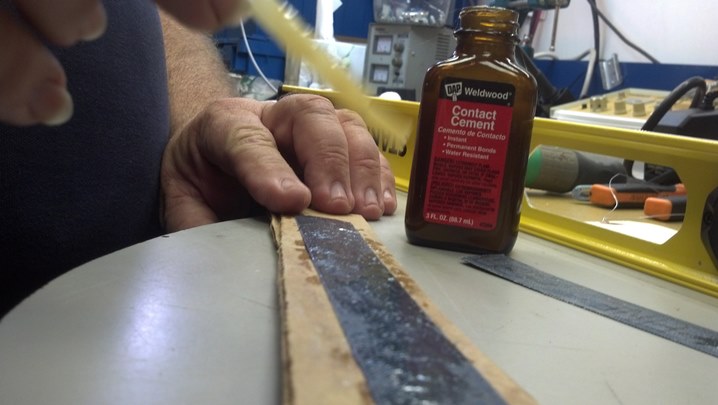
In case you missed the first one, here is the second coat of contact adhesive

The strips of emery cloth form a continuous abrasive surface along the entire length of the spirit level.
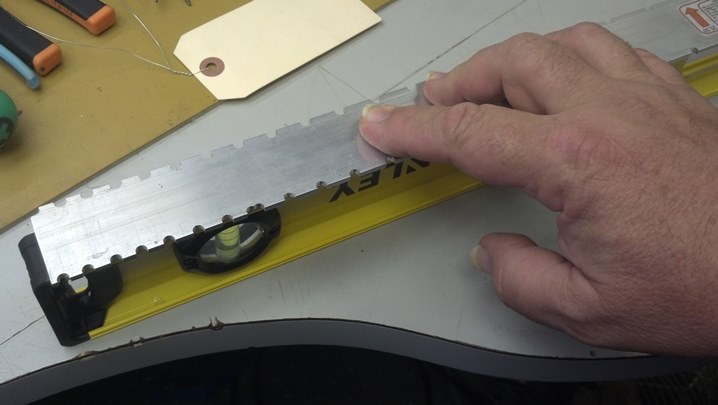
This heavy aluminum fret board gauge is just right to mash out all the air underneath the emery cloth.

The spirit level makes a sanding beam that is the perfect length for this bass fret board.  See the dust at the right end?

Now that the fret board is straight, we will reestablish the radius of the fret board with this 14 inch radius sanding block.

Radiused and straightened, we’re ready to apply a hard finish to the fret board.  Everything that is not fret board is covered with tape.  If you hadn’t noticed, the nut was removed prior to sanding.
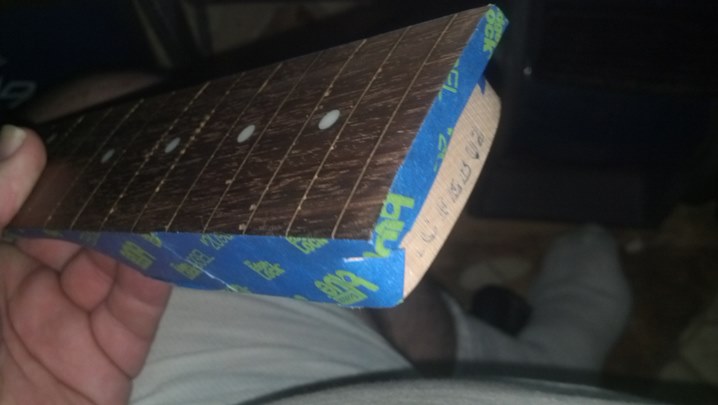
I didn’t want to put much finish on the end grain at either end of the fret board in order to minimize any swelling or expansion that would spoil the shape of the fret board.  When the wood is sealed, I’ll go back and finish the end grain.
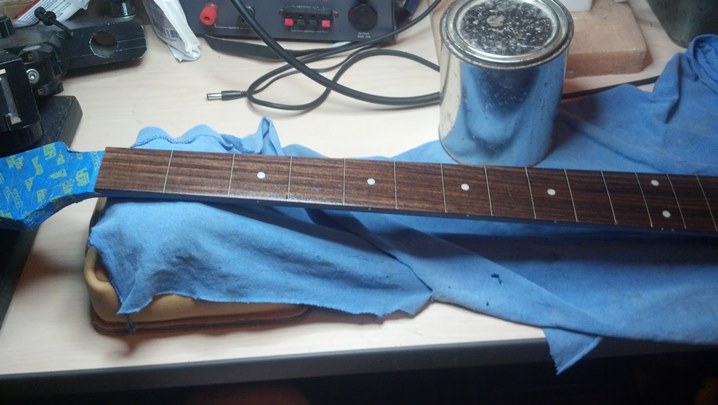
The unlabelled can contains Diamond Varathane Floor Finish, a commercial polyurethane finish used in roller rinks and bowling alleys.  I discovered this stuff when finishing pine furniture.  The Diamond Varathane was the only thing that would stand up to my cat’s desire to chew on the corners of the furniture.  Absolutely bullet-proof.
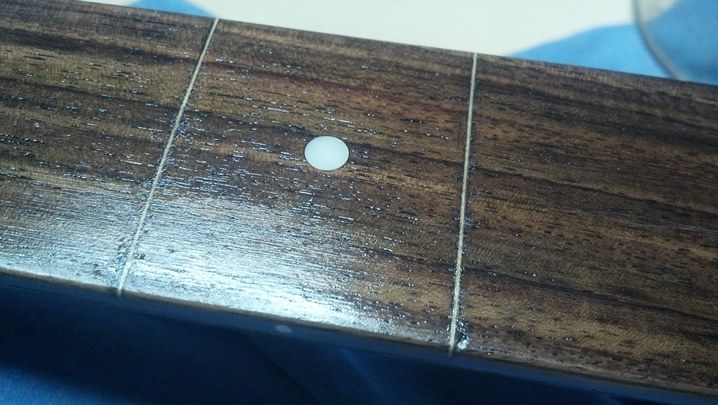
The first ten (yes, that’s TEN) coats were applied with a brush.  We are filling a lot of wood pores, you know.
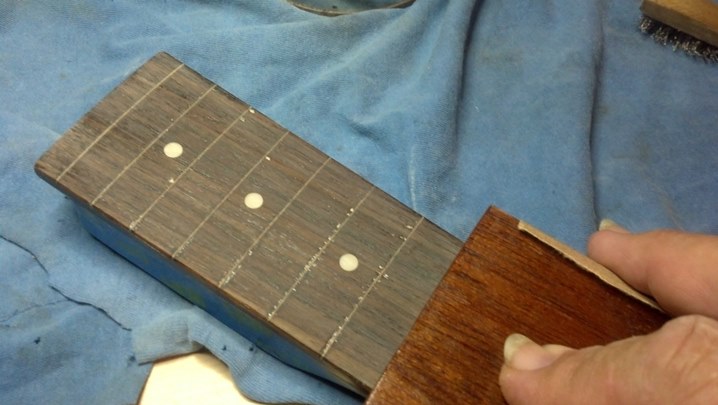
The radiused sanding block gets quite a workout, starting with 80 grit, then moving finer.  This is 220 grit.  The tiny dimples around the fret slots are filling in with each coat of Diamond Varathane.  Ten coats were applied and sanded to radius over a period of nineteen days.
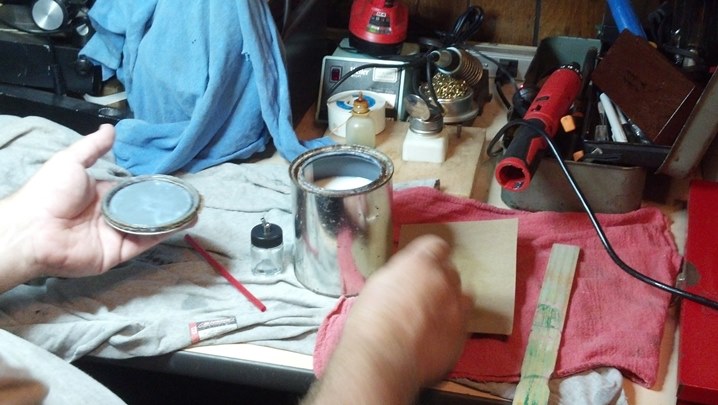
For the final finish process, the next five coats of Diamond Varathane are applied with an airbrush.  Here, the Diamond Varathane is thinned slightly with distilled water.
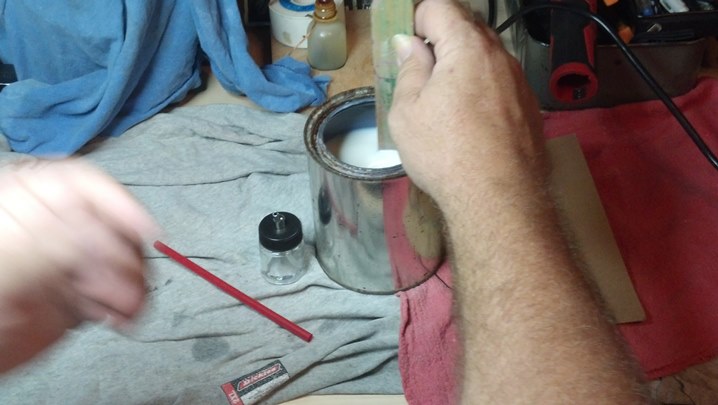
Thanks to my Darling Bride, this stirring moment in history will be preserved forever.
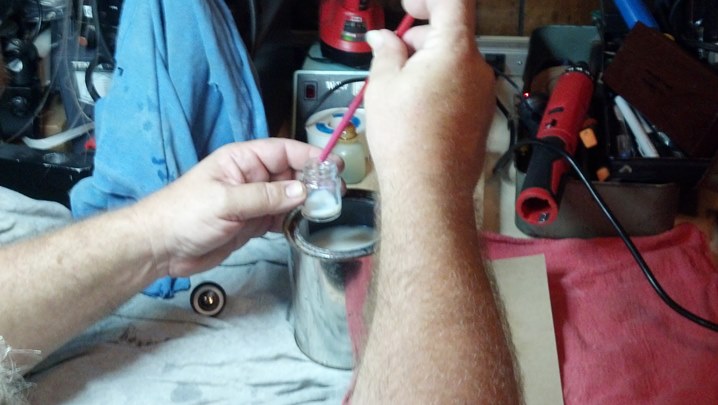
A plastic soda straw makes a nice disposable pipette to transfer the finish to the airbrush reservoir.
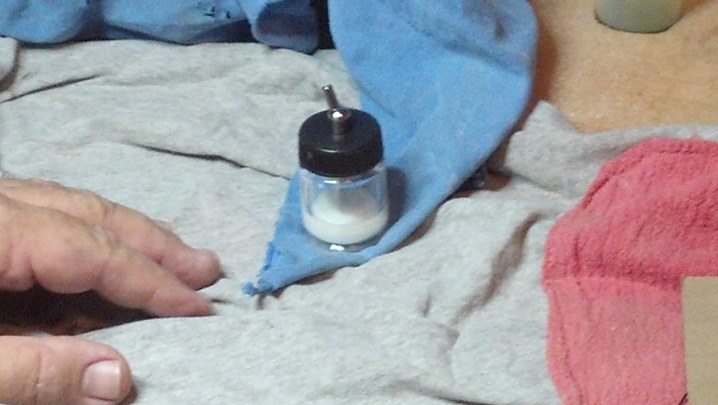
We’re loaded.  Not much finish is needed for the final coats.

Everything is assembled.  This little air brush comes from Harbor Freight, and is surprisingly good quality for cheap ChiCom junk usually found there.  The air and the flow of material is easily controlled on the fly, while you spray.
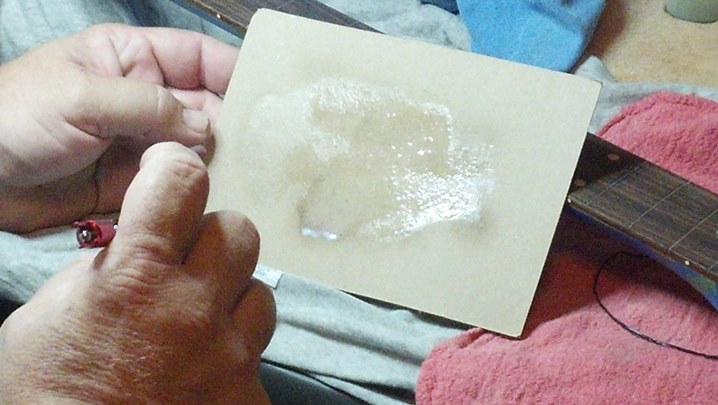
We are experiencing technical difficulties.  One moment, please, while we display a Test Pattern.
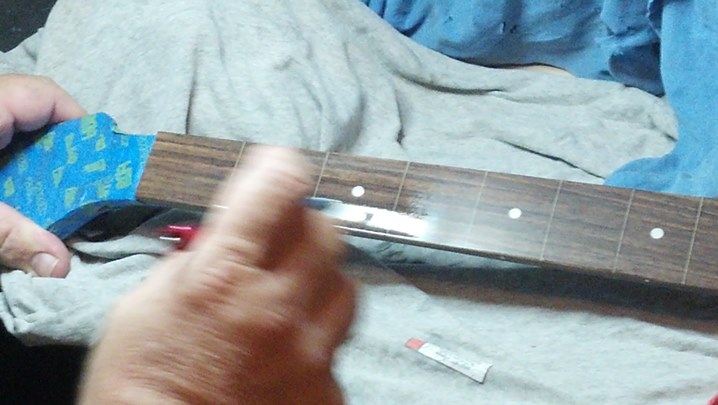
The sprayed finish goes on much more smoothly than a brushed coat, which is why I switched to the airbrush for the last five coats.
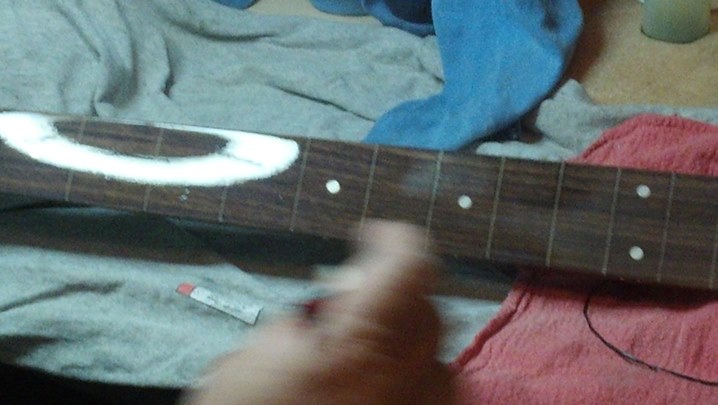
Now this is beginning to look like a fine musical instrument!
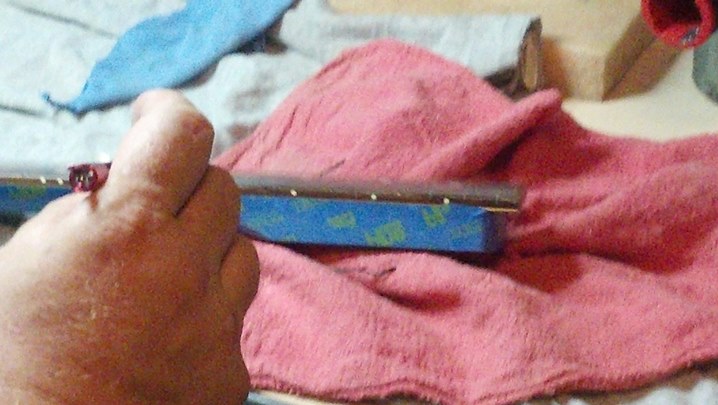
The exposed edges of the maple fret veneer is sealed with some Diamond Varathane as well.
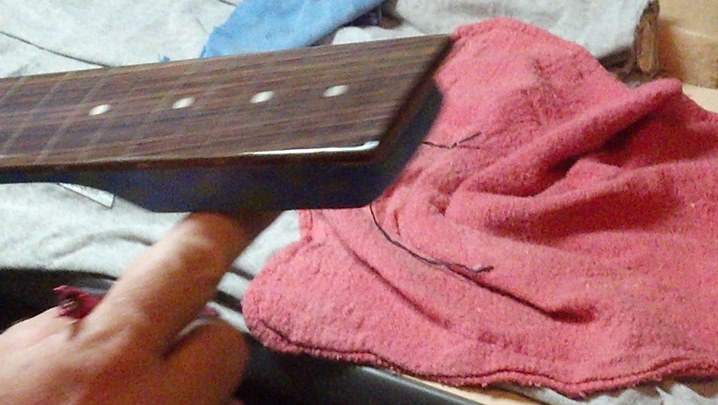
For the last two coats, I also sealed the end grain of the fret board.
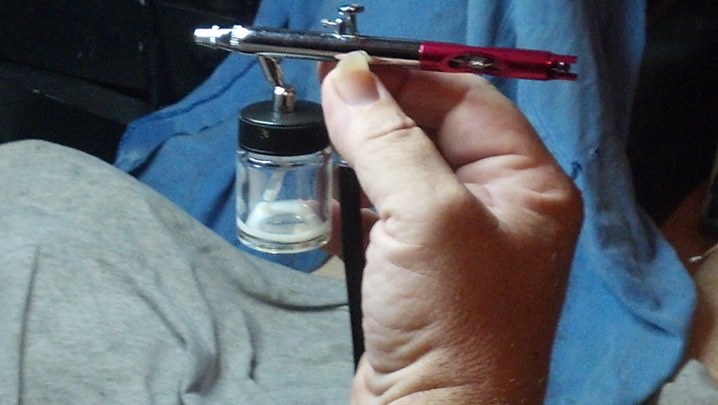
One coat on the fret board does not require much finish.
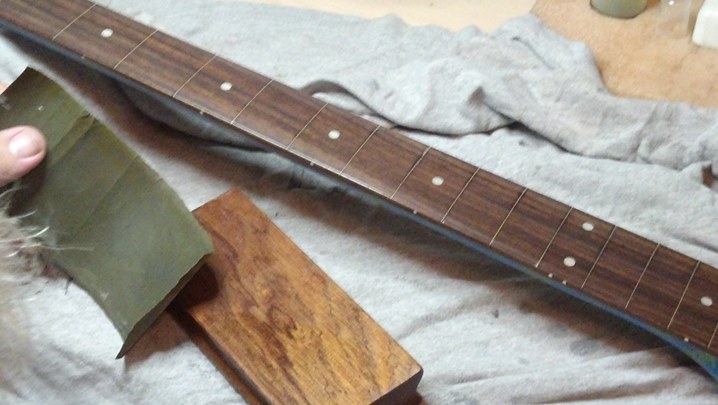
The last five coats were wet sanded.  Three coats were radius sanded with 400 grit paper, the last two with 1000 grit.
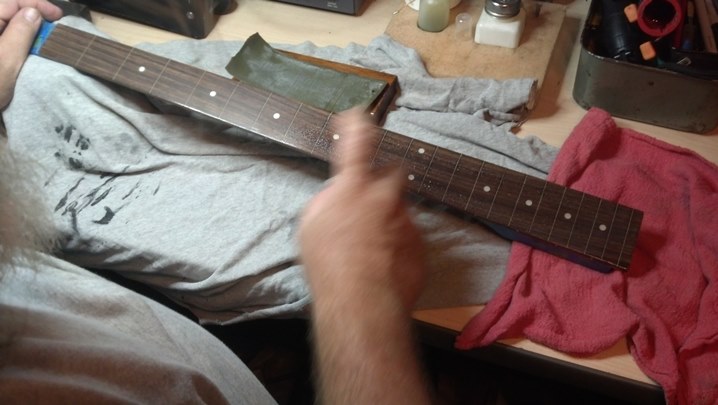
A little rain water was spritzed on the work piece.
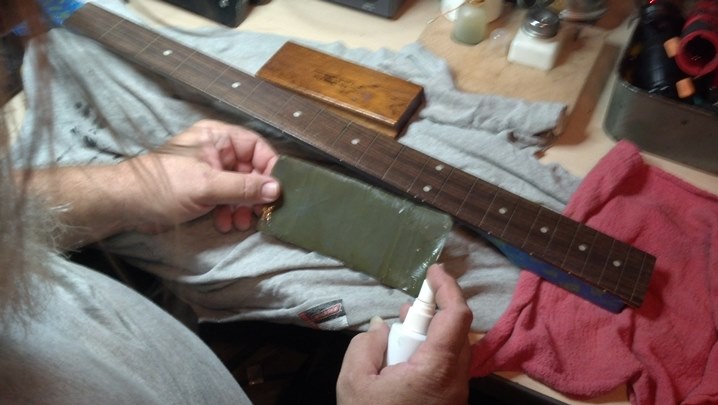
Keeping the sandpaper wet is a good way to keep material from building up and clogging the sandpaper.
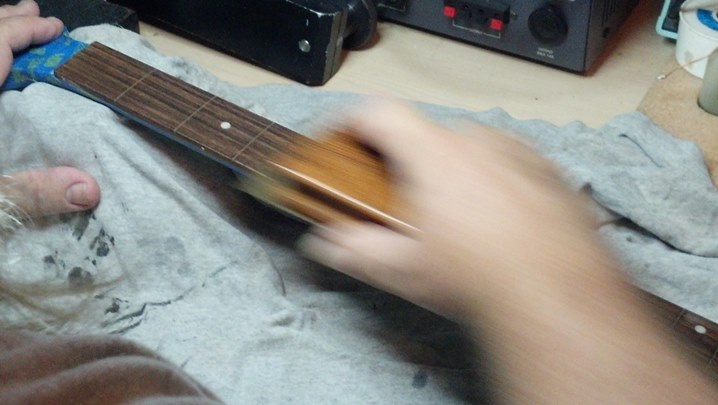
Wet Sanding At It’s Finest!

Tiny bits of the Diamond Varathane are floated away in the wet sanding process.
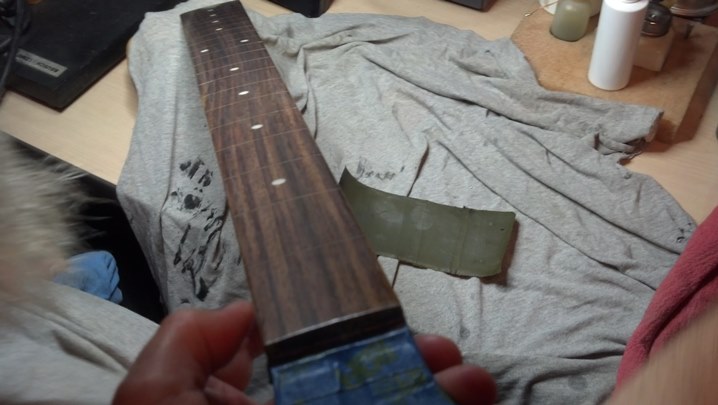
Thus begins the final sanding session, 1000 grit wet.  Very little material is actually removed.  This is just surface prep.
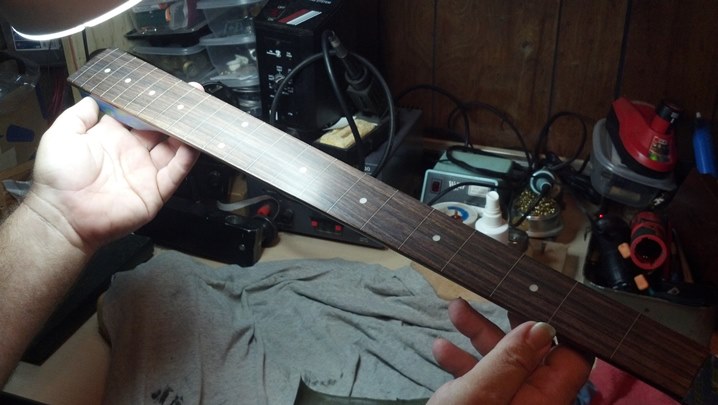
Here is the fret board after the final sanding and dry-off.
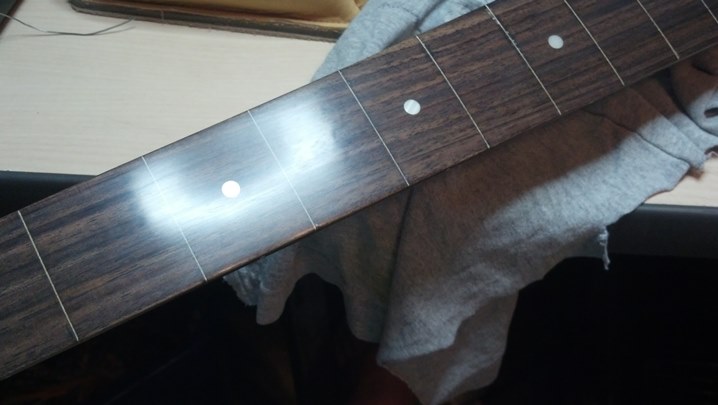
This is fifteen coats of Diamond Varathane, rubbed with a cotton cloth to bring out the shine.

Here is a nicer view of the hand-rubbed finish, with reflections courtesy of Mr. Brewster Angle.

Off comes the tape.  A tiny bit of wet sanding and rubbing is used to smooth the edge of the finish so that it blends into the original finish on the back of the neck.
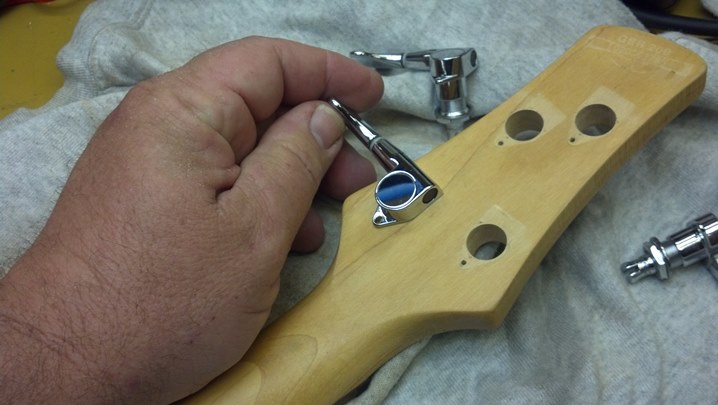
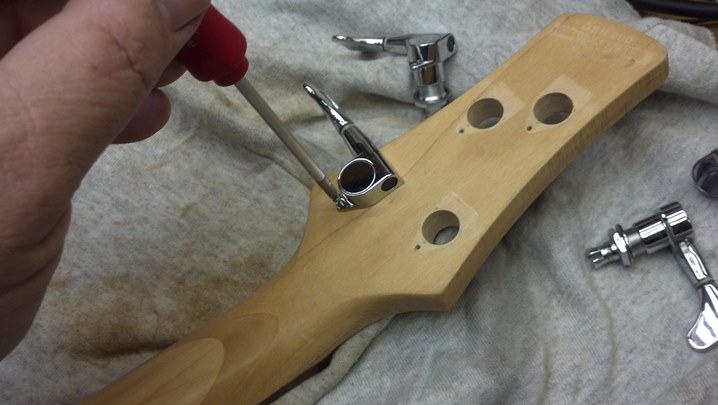
Time for tuners!
Some folks can artificially age guitars with ultraviolet light to remove these ‘tan lines’ but I don’t do that.
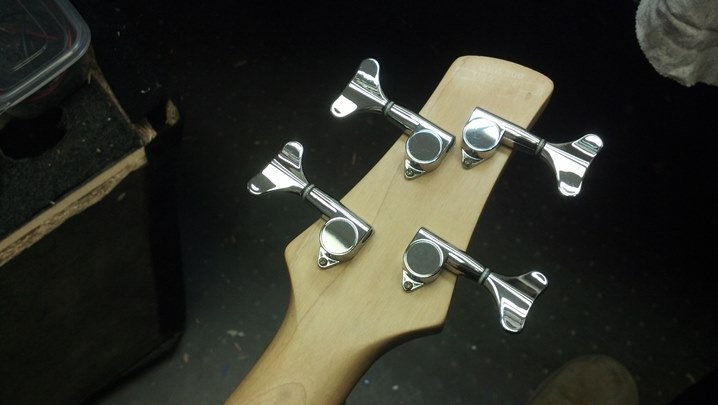
Warning – Guitar Porn.
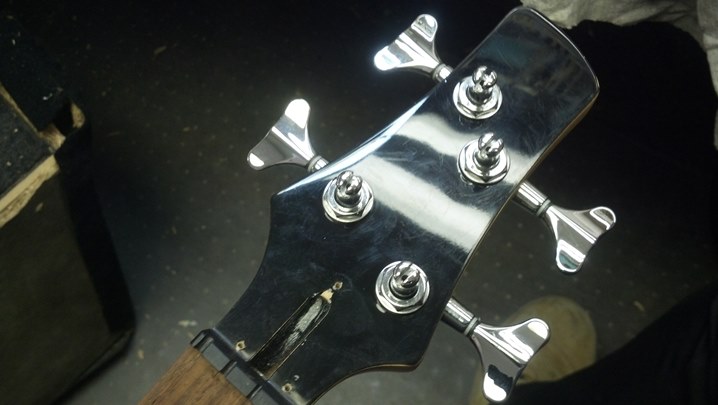
Oops, I need to remove some fingerprints on this side.  The nut is glued back on and we’re ready to reattach the neck to the body.

The action is, of course, WAY too high now that the frets are gone.
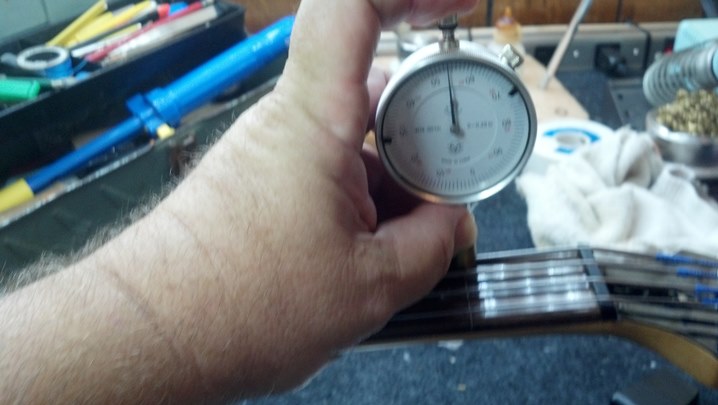
These strings are about 0.056 inch off the fret board at fret one.
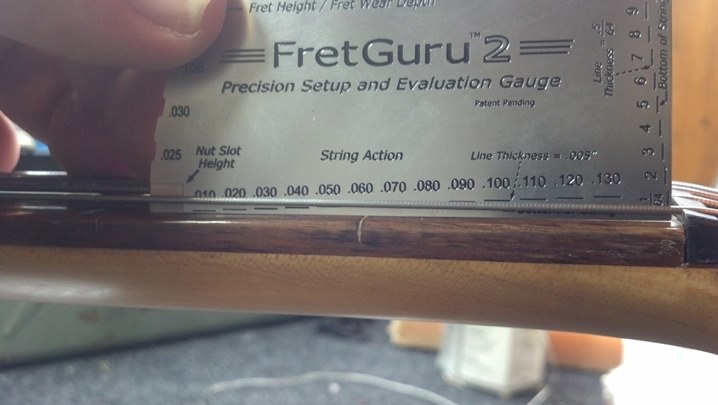
As a sanity check, this gauge shows the same measurement.  This is a nice closeup of the finish on the neck.  The Diamond Varathane is absolutely rock-hard after curing.
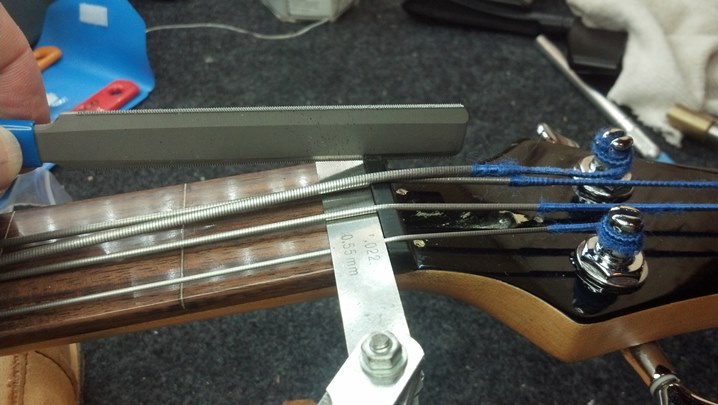
I put this 0.022 inch feeler gauge under the string slots, then proceeded to deepen the slots to just touch the gauge.
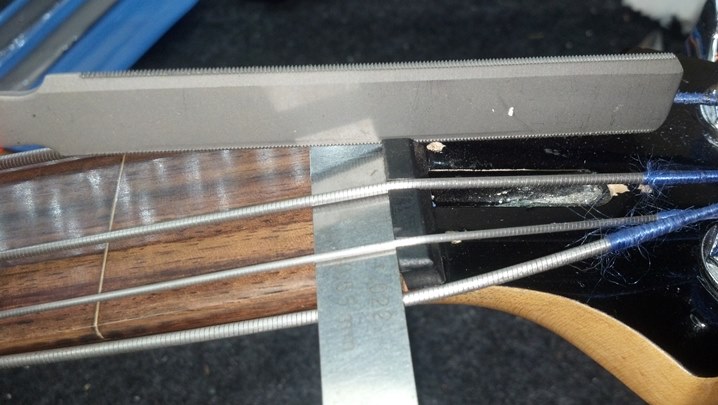
Here is the A string file at work.
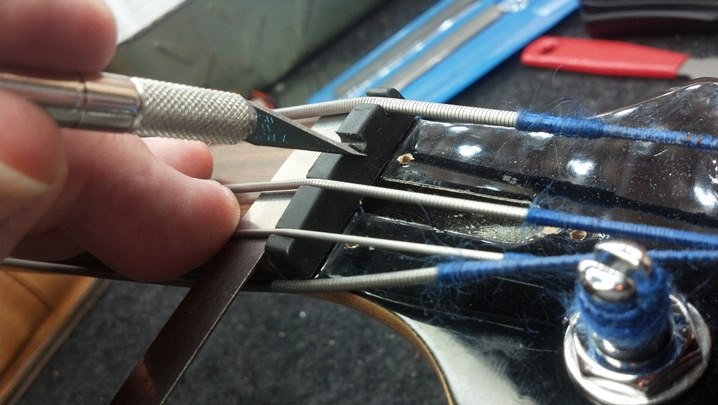
The plastic nut flows a bit when worked.  An Exacto knife trims away the flash.
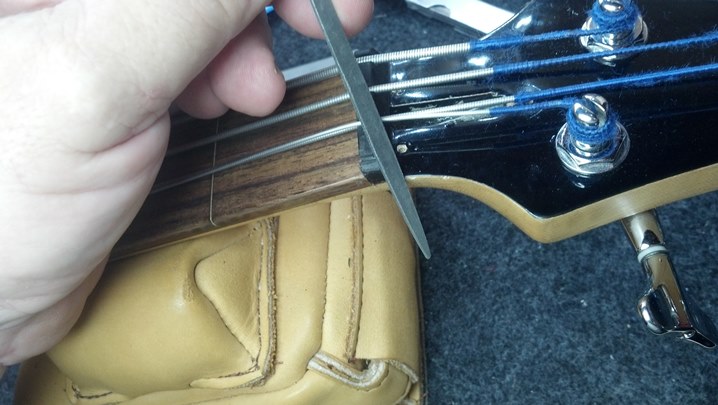
Time to take any sharp edges off the nut.  Playing a fretless bass is all about the “feel,” after all.  After a neck shim and a simple setup at the bridge, this bass is ready to mwah.


Thanks for reading all the way to the end of this long post!

CONTACT – David Latchaw  EE

281-636-8626

Crate CR2R Combo Refurbish

The oak cabinet houses a simple solid state amplifier and a Celestion G12 loudspeaker.  The rustic look is intriguing; the wife agreed that this matched the decor and would therefore be allowed into the house.  This particular amp was languishing in a pawn shop until Dave called me to bring the truck and refurb this guy at the Unbrokenstring Shop!

The grille, metal handle, and metal corners had plenty of surface rust.  The wood hadn’t been conditioned in, like, forever.  And, it didn’t play.  When shaken, loose parts were heard rattling around.  So we have a starting point for electrical test…

A scan of the front panel shows typical controls found on 1970s era units.  The LO input has a 10dB pad in series with the input jack.  The BRIGHT switch is a throw-back to earlier times.

This unit has a three-band EQ and a reverb tank.  As we will see later, the electronics were built by St. Louis Music.  Crate had licensed Ampeg’s intellectual property and were rebranding it into their own units.

Here’s a quick peek at the rear panel.

A pair of TO3 transistors handles the push-pull duties.  Nice to see insulators over the cases of the transistors, which may be at 40 volts or more with respect to ground when operating.

A foot switch can be plugged in here to enable or disable the reverb.  Don’t know if the LINE IN and LINE OUT signals are really ‘line level’ e.g. 2v or not, but back in the 1970s, who cared?

A utilitarian Celestion loudspeaker handles the electricity to sound transducer duties. This particular loudspeaker is in good shape considering that it is probably original for that time period.

I took this pic to preserve the location of the reverb tank wiring and the cable to the loudspeaker.  They are all RCA males.

The output from the reverb tank was manually marked with a Magic Marker. Interestingly, the Magic Marker ink has dispersed into the plastic jacket of the cable but is still visible.

I unscrewed the chassis and removed it out the back of the amp.  Yeah, we’re a little dirty and dusty.

Now we have a little more room to remove stuff to clean up the cabinet.  Two screws hold the reverb tank in place vertically along the side of one wall.

The grille is held in with some of these screws.  Everything is coming off in order to clean this cabinet and oil it.

The grille frame is pine, painted black.

Here we find Vincent Price’s “funk of forty thousand years.” TIP: If you don’t get the association, Google Michael Jackson “Thriller” lyrics.

This portion of today’s program is brought to you by Pledge furniture polish.  It contains enough petroleum solvents to clean the wood and condition the exposed wood in the scratches.

The bottom of the cabinet hasn’t been this clean since 1978.

Now, to start on the electronics. I took this pic to document the orientation of the BRIGHT slide switch.

Rather than unsolder these wires, I’ll remove the front panel jacks to liberate this side of the circuit board.

I’m going to disconnect this internal wiring to free the circuit boards.  This pic is for documentation purposes.

All the knobs pull off, no set screws.  These knobs have an interesting tri-lobed scheme to hold to the knurled shafts.

Removing the nuts will free this side of the circuit board.  This socket is covered in felt to keep from scratching the paint.

Remember this switch? The BRIGHT switch needs to be detached from the front panel.

Aha! Here’s one of the loose parts rattling around inside the cabinet. Only the component leads secured this part to the circuit board. Over the years, the leads were repeatedly bent by vibration, work-hardened, and eventually broke. No audio passes through a broken lead!  There are two of these guys running loose inside the amp.

The preamp board is loose from the chassis.  These controls will be cleaned and lubricated before reassembly.

Some service has been performed in the past.  Why can’t these people remove the old rosin solder flux?

More solder rework is apparent here.

The white stuff is RTV adhesive, commonly used to secure components in place so they don’t vibrate loose.  We have a problem here.  Can you see it?

More tech porn.  The topology of this preamp is pretty standard, with op amps performing the heavy sonic lifting.

Everything here looks pretty good.  Let’s fix what we’ve found so far.

This cap came unsoldered.  It checks OK otherwise so this will be reinstalled right where it is.

Remember those green parts that were found rattling around inside the chassis?  My fingers are pointing where they go.

Radio Shack had these parts in stock.  They are installed here.  This board is the power amp assembly.

The first amplifier IC right at the input is bad. It goes here, to the left of center of this picture.

My reassembly helper has decided to perform a Quality Audit.

The controls were cleaned with Blue Shower, then lubricated with Rid-Ox, sprayed directly into the control. The control shafts were twisted from one extreme to the other several times until the Rid-Ox evaporated.

The grille is firmly reattached to the cabinet. Loose grilles are often the source of mysterious buzzes and rattles.

This yellow gripper is handy as a screw starter.  The power amp board is being installed here.

And our old friend, the BRIGHT switch, is reattached here.

The reverb tank is refastened to the side wall here. The Pledge furniture polish does a good job of removing crud from the tank sleeve.

More reverb tank action.  Exciting, huh…

Those cables are finally put back where they belong.

This guy doesn’t look too bad now. This is just a straight-ahead practice amp, but the cool factor is bumped up because it’s a Real Crate. And it plays well!

Thanks for reading all the way to the bottom!

Contact – David Latchaw EE
cell – 281-636-8626