

Richard relied on this unit for much of his sound, and when it went dark, he had to get it fixed or change his entire setup. Could the Unbrokenstring Crew bring it back to life and preserve Richard’s workflow?
.
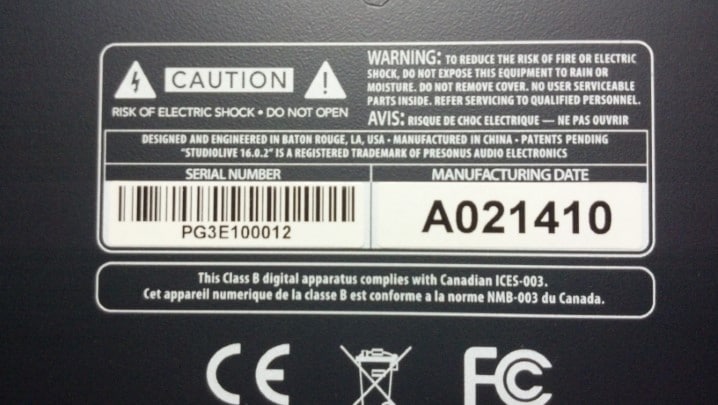
Our Cajun neighbors designed and engineered the mixer.
.
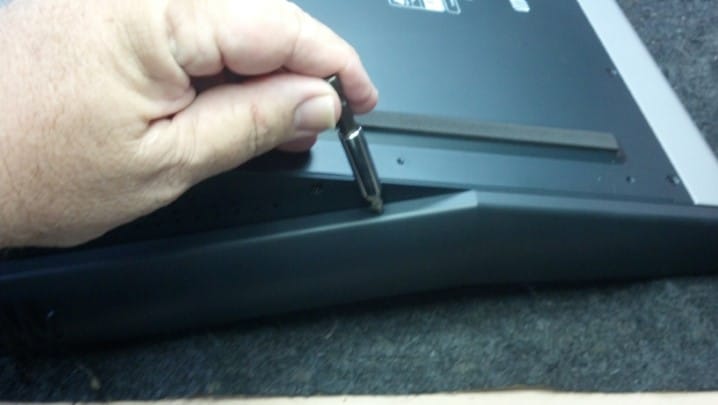
Two screws hold on the side trim pieces.
.

Once the screws are removed, the whole trim piece slides to one side and all these machined studs come out of the slotted holes. Nice.
.

These side panels provide most of the mechanical strength of the finished assembly. Lots of little black screws hold them on. The red plastic tray on the right keeps them off the floor.
.
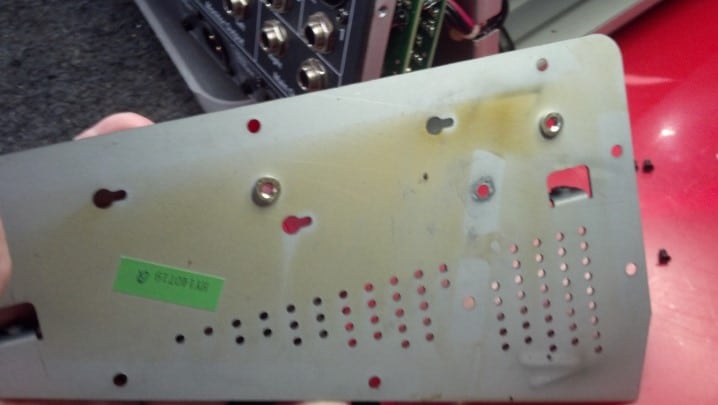
Inside the panels, we see tell-tale signs that the Magic Smoke has been released. Please understand that Magic Smoke is a very, very technical term.
.

Whenever the Magic Smoke is seen escaping from electronic components, they stop working. Therefore, all electronics must operate based on the principle of Magic Smoke. And you thought it was voltage and current…
.
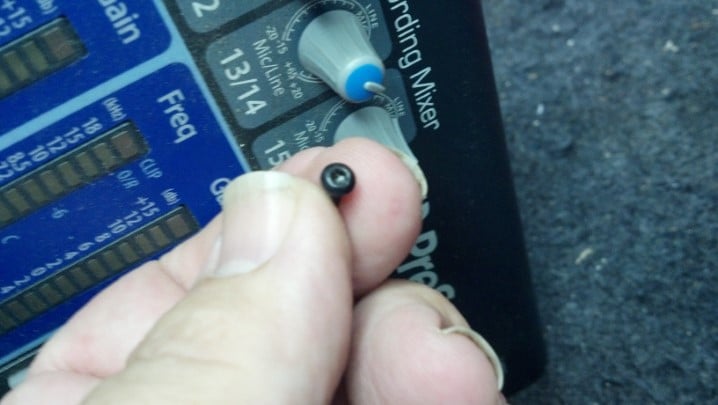
The fasteners used throughout the unit are tiny Torx machine screws.
.
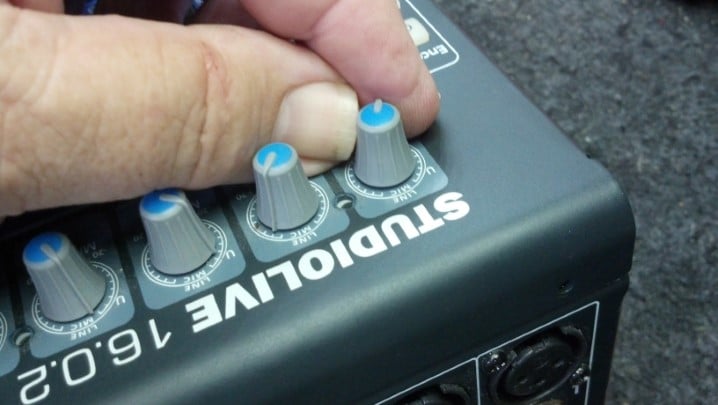
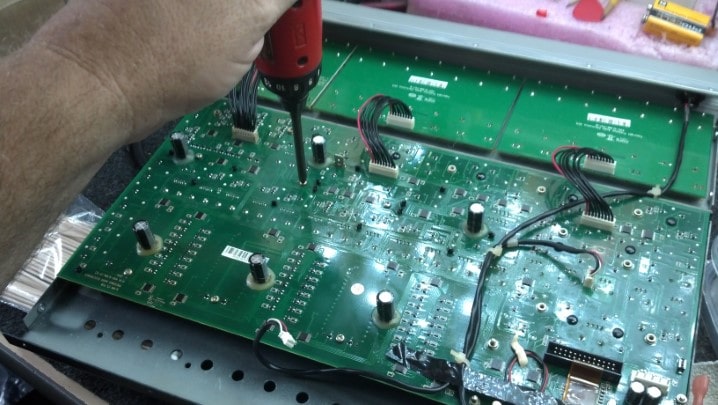
Sooner or later, all those knobs will need to be removed. For now, we will just remove the top row of knobs.
.

Now we can separate the rear of the unit from the front and back.
.

Power and data go thru these cables. I snapped a pic to be sure that they are oriented correctly when the unit is reassembled.
.
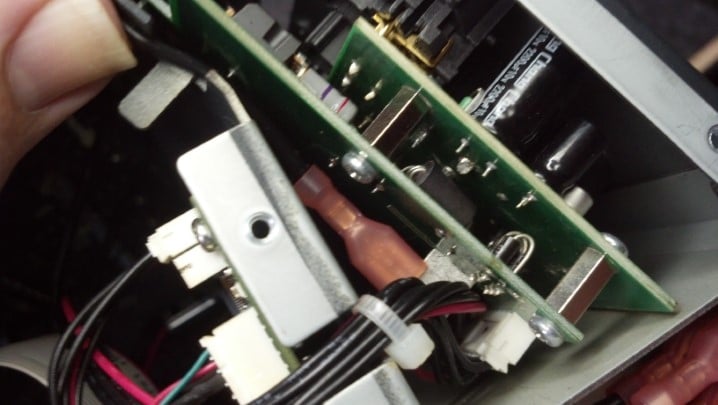
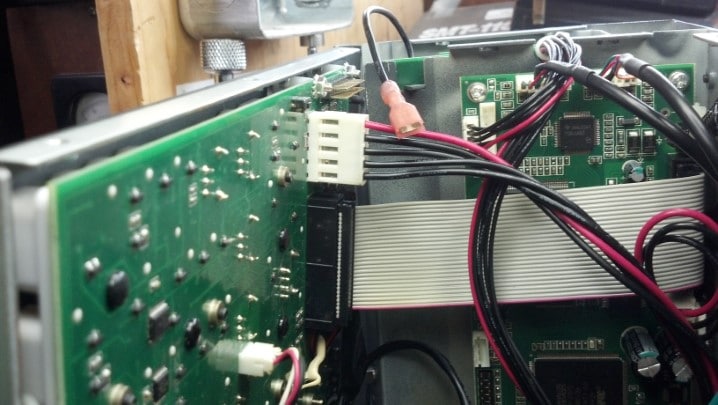
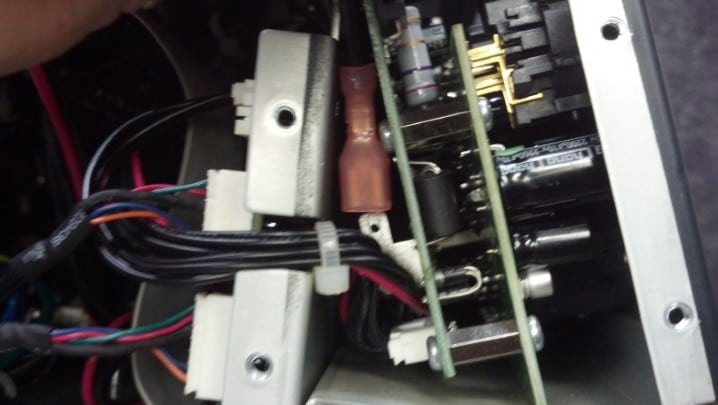
The brick red connector is a push-on terminal that connects the chassis grounds together. It must come off, but it’s in a recessed spot between circuit boards.
.
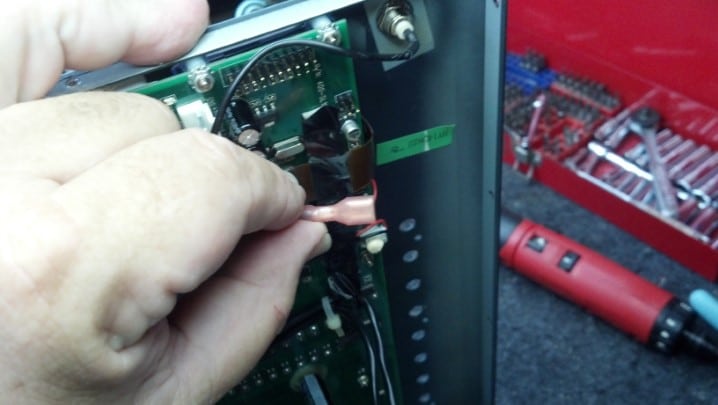
But the chopsticks came in handy and the ground terminal is free.
.
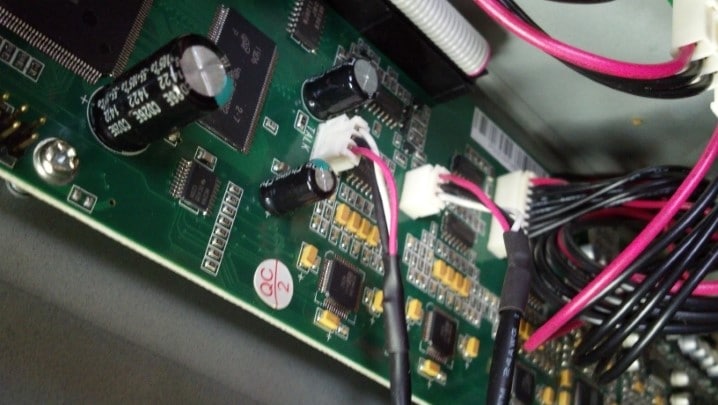
More pics to document where the cables go.
.
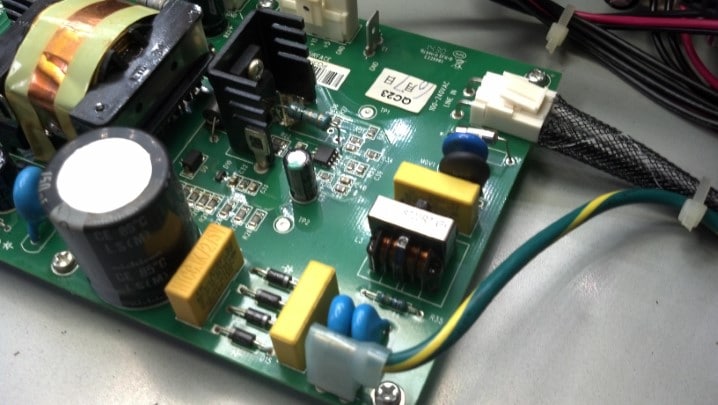
This is where the AC power is applied to the power supply assembly.
.

The safety ground is the green and yellow wire. AC hot and neutral are applied via the mesh-covered cable on the right. A fuse, surge suppressors, and a temperature-dependent resistor are seen here, along with AC-line-rated filter capacitors and a filter choke. BTW the fuse is fine.
.

AC power is rectified and stored in the large capacitor in the foreground. The rectifier array is seen between the yellow blocks in the lower right hand side of the circuit board.
.

After years of service, the capacitors are swelling. Look at the top-facing end of the black cans seen in this picture.
.
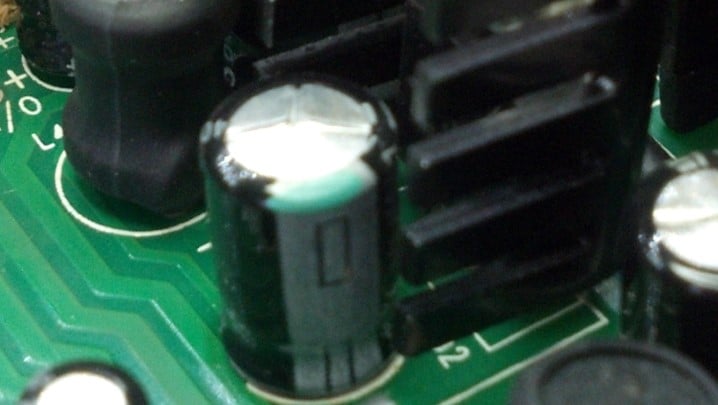
When electrolytic capacitors swell, the chemicals inside are reaching end-of-life. The capacitor begins to dissipate more heat and energy storage in the capacitor itself become less efficient. And this cap is next to a heat sink, which likely is warmer than the surrounding areas on a good day.
.

More swelling. These eventually pop and make a huge mess.
.
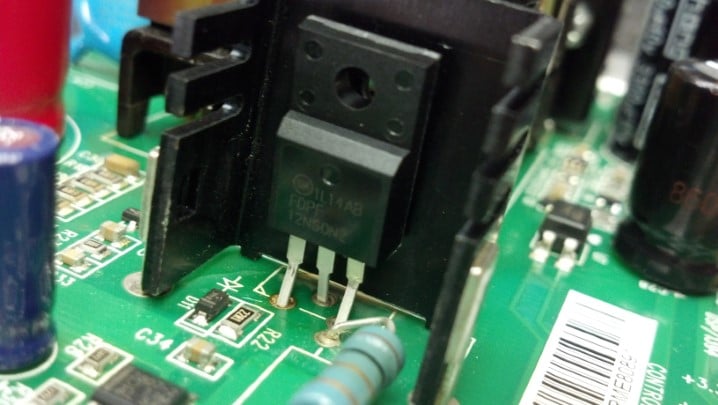
Looking at the reflection on the top of this device, we see signs that Magic Smoke escaped from this part.
.
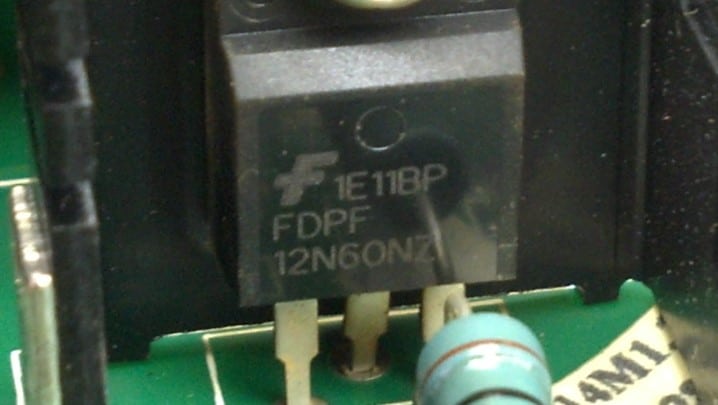
This part is a power field effect transistor (FET) and will be changed out. Electrically, each pin is shorted to the other.
.

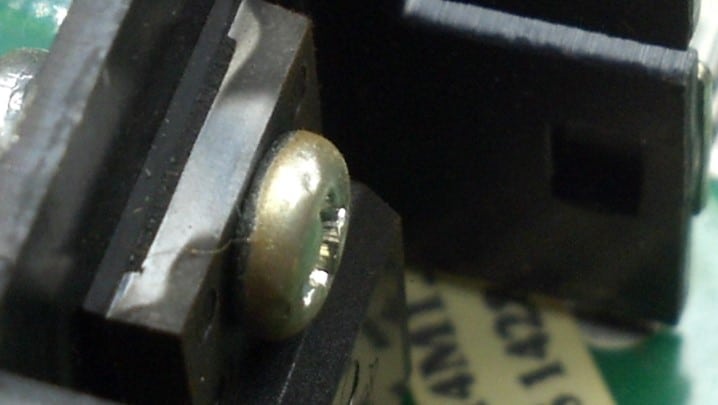
Magic Smoke has escaped from the end of this diode.
.
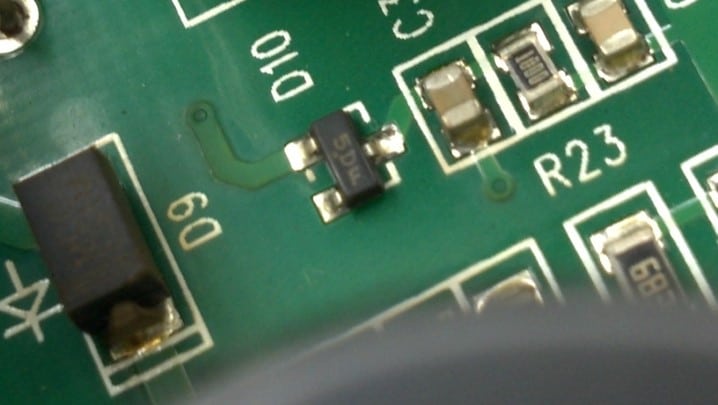
More magic smoke was seen in the vicinity of this part. These are cheap enough that it will be replaced.
.
Here is the new power FET, ready to be bolted in place. Only after the FET is fastened in place will it be soldered to the circuit board, assuring us that the solder joints will not be under mechanical stress.
.

I tried to match components, but this big red gaudy storage capacitor was the only color available. Esthetics Fail. Sorry.
.

Every electrolytic capacitor in the power supply was changed. The suspected bad semiconductors have been replaced as well.
.

Fortunately, whoever did the circuit board design silkscreened the voltage values next to the pins where these voltages can be measured.
.

Armed with that information, we can test the power supply and verify that it is functional before connecting anything else that may be damaged if the power supply is not functional.
.

We are ON THE AIR! Everything works as it should. Except…
.

Can you see the cloudy area on the left edge of the LCD? That is not a reflection. That is more Magic Smoke. The LCD is fully functional, but this is just plain unacceptable.
.

To gain access to the LCD, we need to disassemble the keyboard portion of the unit. And remove the rest of the knobs.
.
With more screws removed, we have access to the LCD assembly.
.

Opening the LCD allows for the inside of the lens to be cleaned and polished, removing the Magic Smoke.
.
While the keyboard is apart, the sheet metal panel can receive a little TLC.
.
Aw, what the heck. While we’re here, let’s inspect the remaining circuit boards, looking for aging capacitors and signs of Magic Smoke.
.

An effects processor IC is seen here, along with many hybrid analog gain blocks. No schematic would help us through this maze. But everything here is in Tip Top Shape.
.
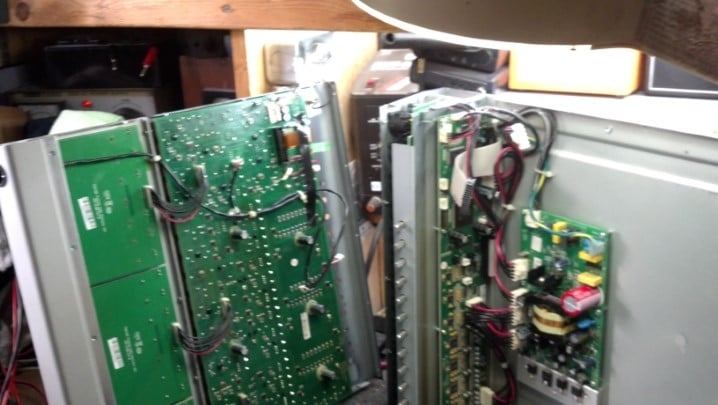
Reassembling the panels together is best done with the unit on its side.
.
Having the unit on its side allows access to all the internal cabling that needs to be reconnected. Glad that we had all the pictures!
.

Some of the small cables need to be reconnected at the last step as they are barely long enough to reach their destination.
.
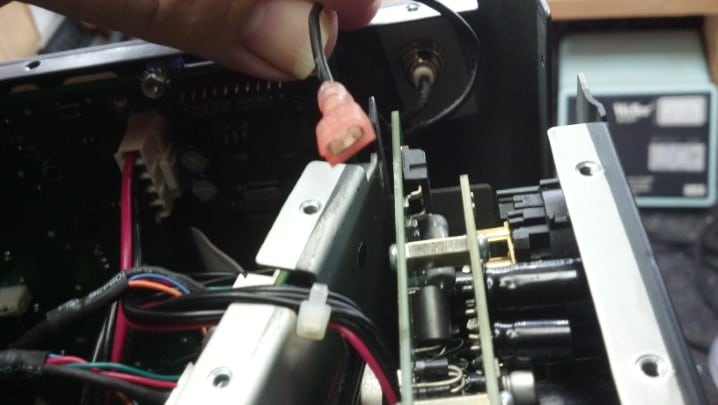
Oh, and here’s that chassis ground terminal. We got it apart somehow…
.
So here we see it almost mated. This step was completed with some very long needle nosed pliers.
.

With the LCD cleaned, this unit appears ready to test again.
.

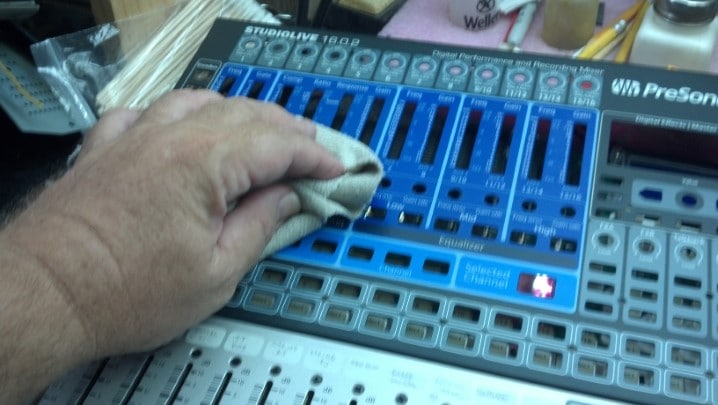
All functions work. All lights light up. Life Is Good!
.
Thanks for reading all the way to the bottom!
CONTACT – David Latchaw EE
281-636-8626


